Send to Kitchen
- Bernadette Gurra (Unlicensed)
- Rose Eliff (Unlicensed)
Summary
The basic ordering workflow in table service starts with ordering items, then sending the items to the kitchen to be prepared.
Depending on the site configuration, a kitchen chit might print and the order might be displayed on a kitchen display system (KDS), such as Logic Controls or QSR.
An order can be sent to the kitchen in several ways.
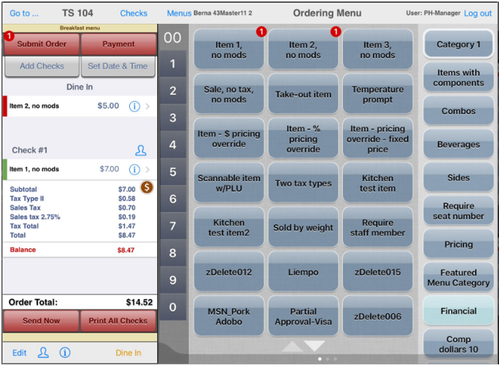
An order can be sent to the kitchen via the check panel
An individual item can also be sent to the kitchen from the flyout window

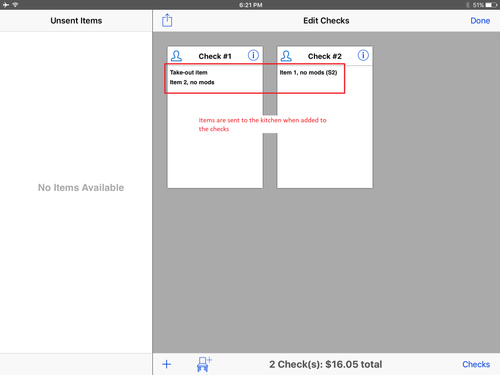
For split checks, when items are added to each check, they are automatically sent to the kitchen
Operation
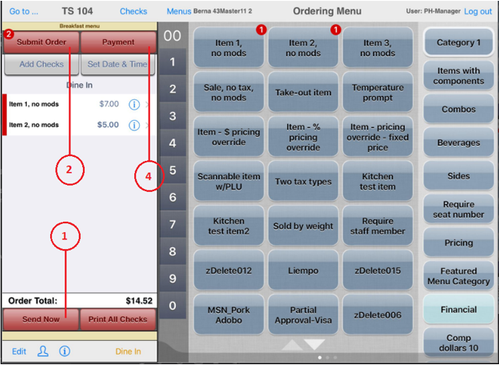
Send Now
Send Now will:
- Send all unsent ordered menu items to the kitchen
- Remain on the ordering menu screen
This operation is useful for situations such as ordering appetizers or drinks first, submitting to the kitchen for preparation and then continuing with the rest of the order.
The green bar indicates all items have been sent to the kitchen
Submit Order
Submit Order will:
- Send the unsent menu items to the kitchen
- Detach the device from the location
- Direct the staff user to the Location Manager page
Once the order is submitted and the server is detached from the location, they are free to serve other tables.
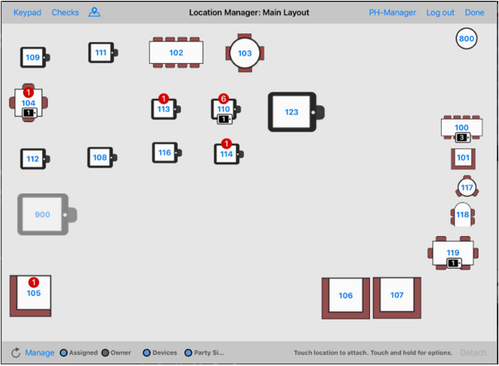
Location Manager
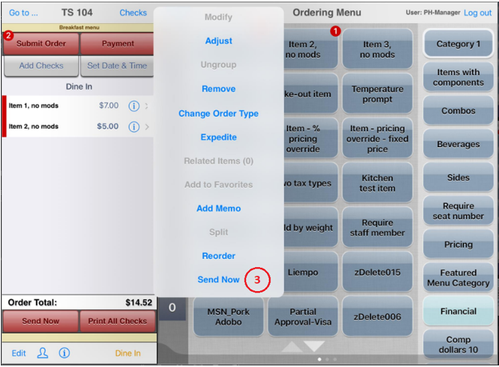
Send Now on selected item
An unsent menu item can be individually selected and sent to the kitchen without any other items. Tap the (i) icon on the item to launch the menu item flyout then tap Send Now.
This is useful if the selected menu item needs more cooking or prep time, for example.
Screen showing one item being sent to kitchen
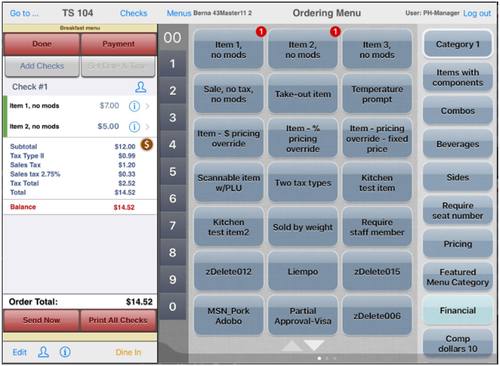
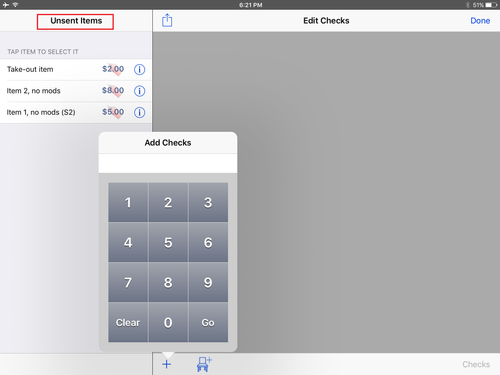
Split checks
If a check is split into additional checks before the items are sent to the kitchen, the items will shows as Unsent Items. Adding the items to the split checks will automatically send the order items to the kitchen.
Payment
Tap Payment to:
- Send the ordered items to the kitchen
- Direct the staff to the payment screen
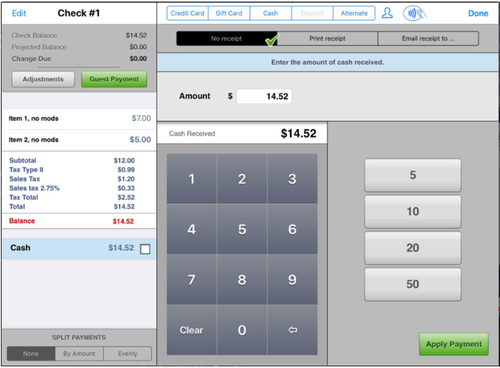
Payment screen