Summary
Media images from the media library can be selected to be used as screen savers to appear on the screen of the POS device. Images must be in the media library to be available for selection.
- The designated screen saver images will be displayed when the POS device has been idle for 120 seconds.
- If there is more than one image, the images will display in rotation per the display order set.
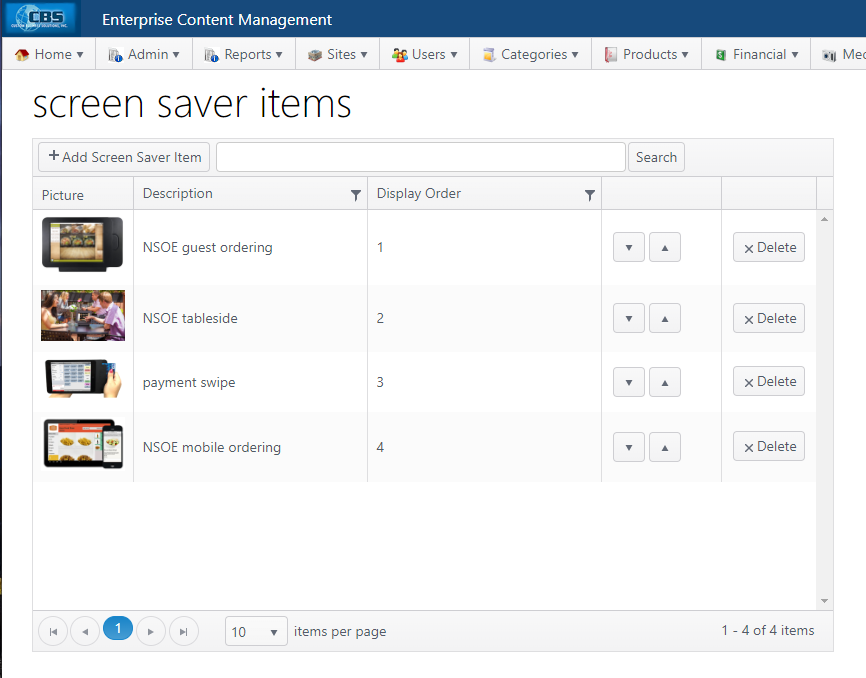
Screen saver grid
| Item | Description |
|---|---|
Add Screen Saver Item | Click to open the Screen Saver Items Selection pop-up dialog |
Search | Search for a file using whole or partial search of description. |
Columns |
|
Picture | Thumbnail image of the media image |
Description | Description media file |
Display Order | Rotation order of images |
Display order controls | Controls to move images up or down in list to affect the display order |
Delete | Delete the selected media file |
Pagination | Page navigation, number of items per page and current and total number of items |
Configuration
Add Screen Saver Item
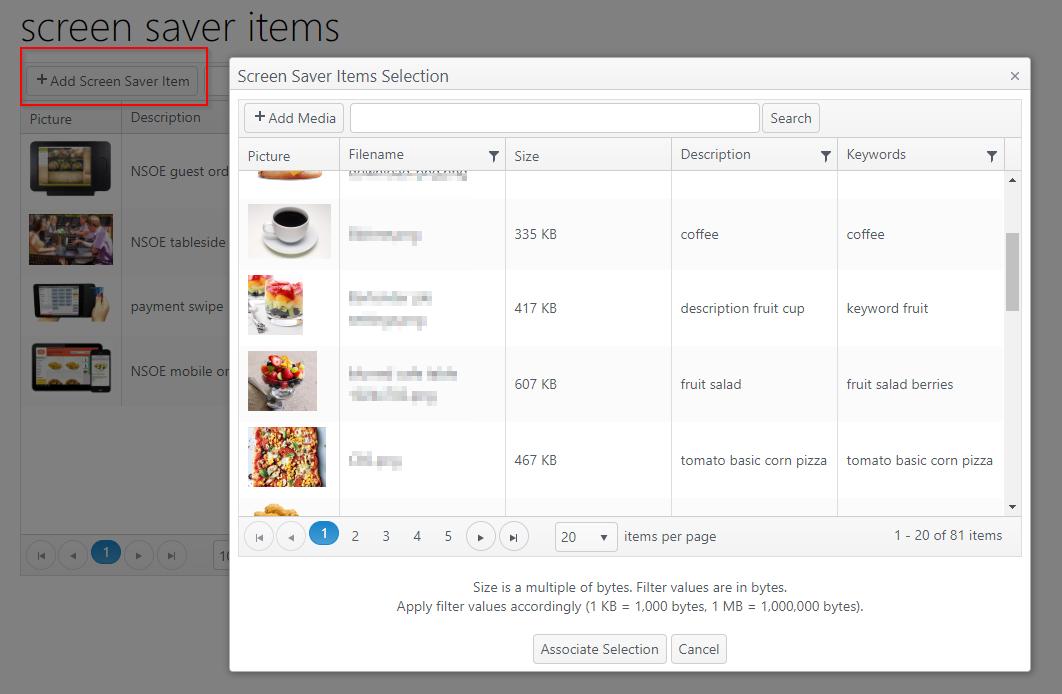
- Click Add Screen Saver Item
- Select an image by:
- Clicking a media file (anywhere in the line)
- Searching for an image
- Search for a file using whole or partial search of filename, description or keywords.
- Adding a media file (see below)
- Columns can be sorted in ascending/descending order
- Columns can be filtered to show a subset of records
- After selecting a media file, click Associate Selection to add the file as a screen saver item or click Cancel to discard changes
Add Media
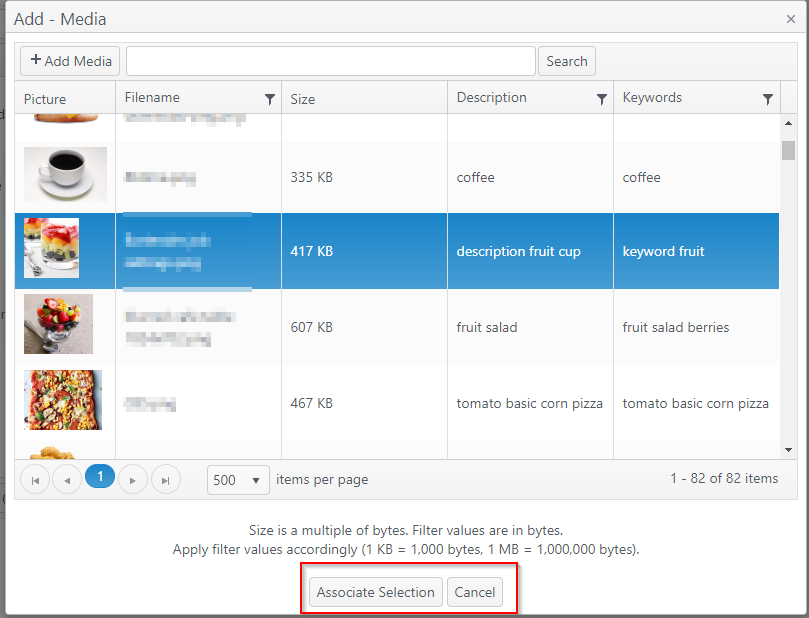
- To add a new media file, click Add Media
- In the pop-up dialog box, enter a name and description, then click Select files ...
- Select an image from your files, upload and click OK (See Media)
Revise Display Order
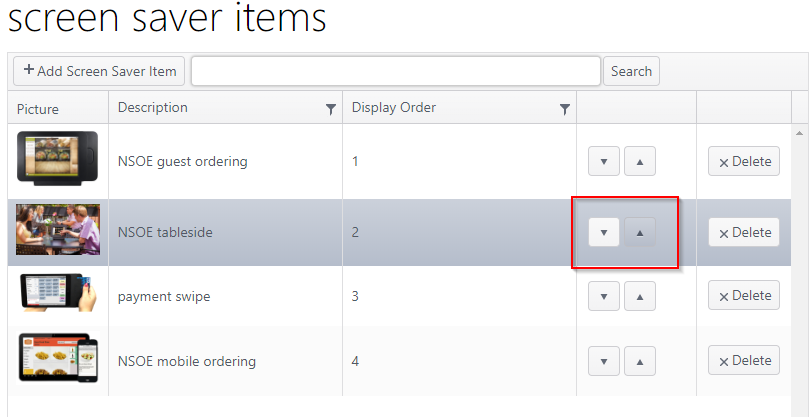
- To revise the rotation order of the screen saver images, click the up or down arrow to change the position of the media file
Delete File from Screen Saver Items
- Click Delete for the file to be deleted
- When the confirmation message "Are you sure you want to delete this record?" pops up, click OK to delete or Cancel to cancel delete operation


