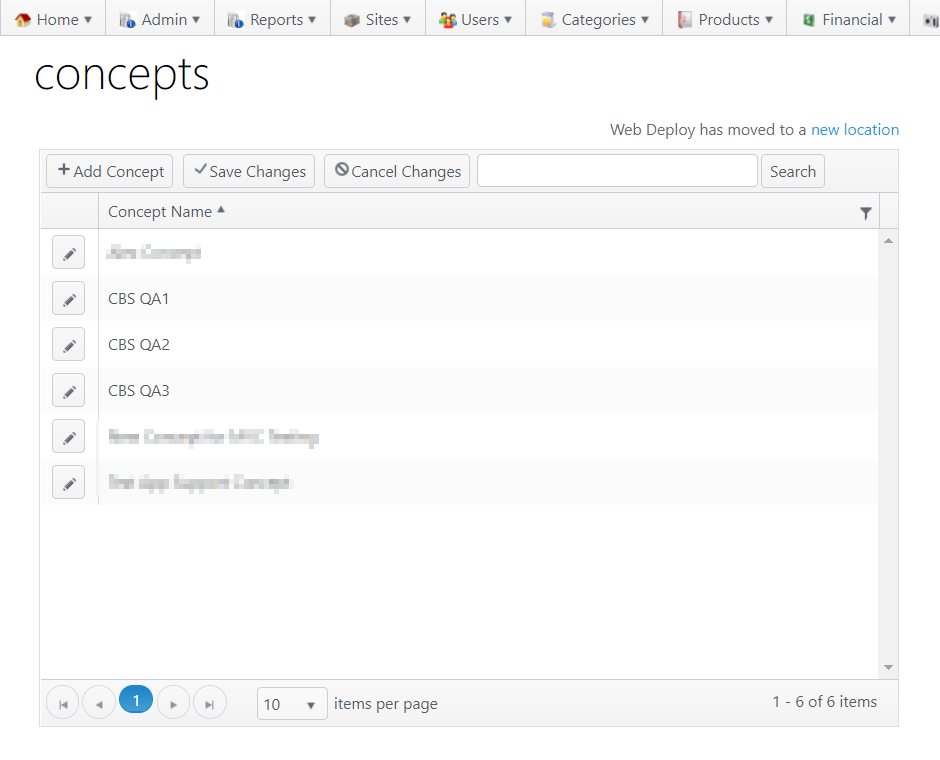
The Concepts page shows the restaurant or business concepts for a company. A single restaurant concept can be composed of one or more individual sites.
- The user can add a concept or make changes to a concept. Any changes are concept-level and apply to all sites within the concept.
To access the Concepts page, go to Sites > Concepts
| Item | Description |
|---|---|
Add Concept | Click to open the Add Concept window |
| Save Changes | Click to save changes |
| Cancel Changes | Click to discard changes |
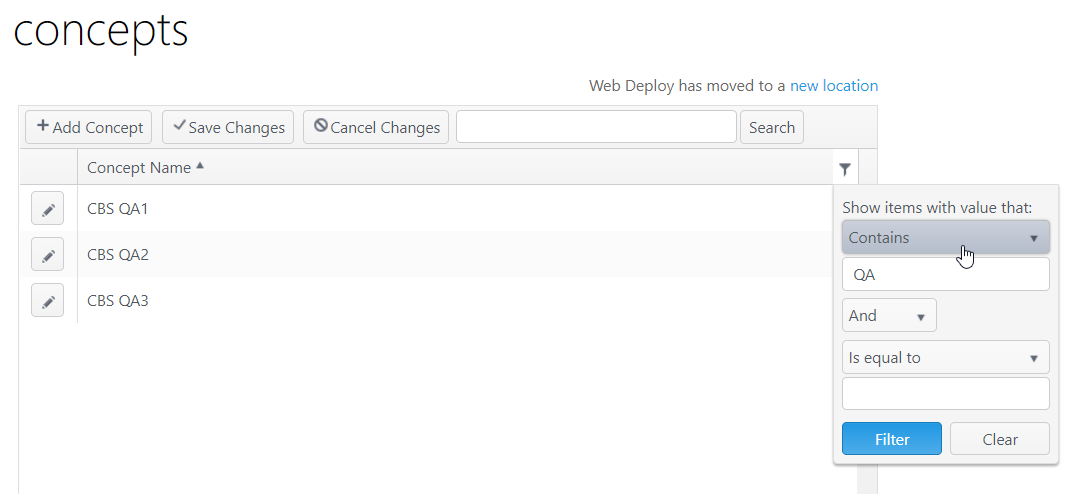
| Search | Search for a concept (alpha/numeric entry) |
Concept Name |
|
| Edit concept | Click edit icon (pencil) to open the Edit Concept window |
Configuration
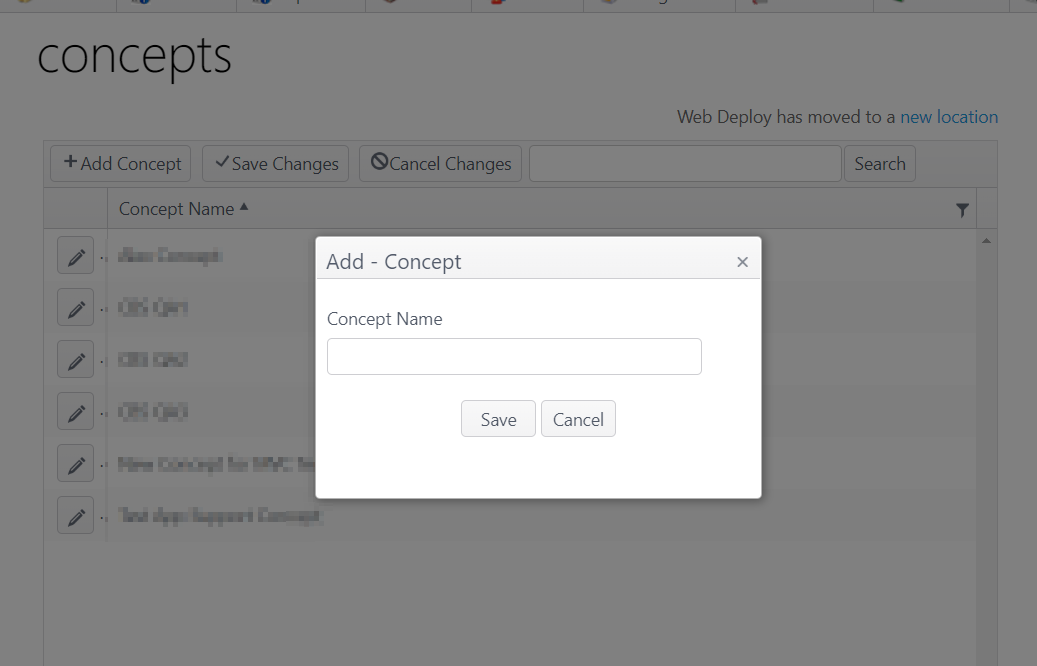
Add concept
- Click Add Concept
- Enter the Concept Name in the modal window
- Click Save to save the entry or Cancel to cancel the entry; both actions will close the window and return to the main screen
- Click Save Changes on the main screen to save or Cancel Changes to cancel any actions
Edit concept
- Click the edit icon (pencil) to open the Edit Concept window
Concept tab
- Logo Settings
- Name - Add/modify concept name
- To add a logo:
- Image file must meet the stated image requirements
- Click Select file to find and upload a file
- When the file has been uploaded, the status bar will show Done with a checkmark
- Click Save to save changes or Cancel to cancel changes
- To delete a logo:
- Select Delete logo
- Save
Settings tab
Check Settings
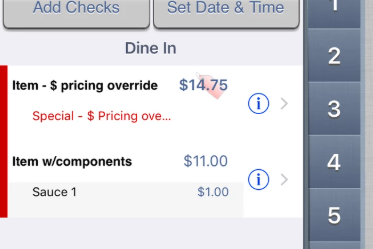
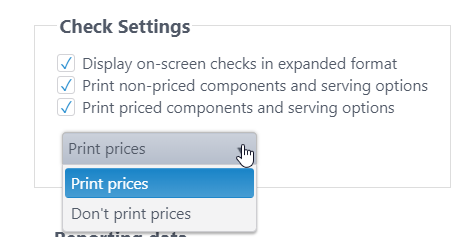
- Display on-screen checks in expanded format - Items with components, serving options, special pricing, etc., are expanded on the POS application to show detail on the check panel
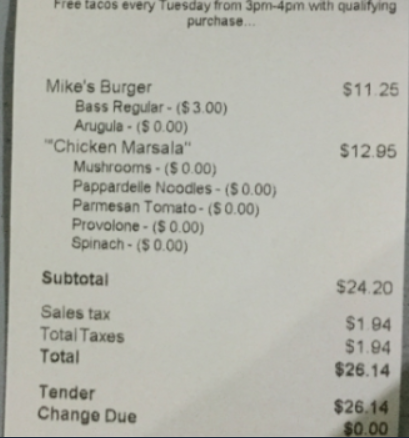
- Print non-priced components and serving options - Non-priced (zero-priced) components and serving options are printed on the receipt
- Print priced components and serving options - Priced components and serving options are printed on the receipt. (See sample above).
- Admin can choose to print or not print prices for priced components and serving options .
Reporting data
Account Feature Toggle Required
This setting will only appear when the account feature toggle is enabled: 4.3 Real Time Data to Data Services
Contact your NorthStar representative to have this setting enabled for your account.
- When the setting is selected, transactional data is exposed in real time in the data service on the following actions in NorthStar Order Entry application: send, submit, print, pay, finalize and refund check.
- When this transactional data is exposed in the data service, the data is available on the reports in ECM in real time
- Example:
Order items
Submit order
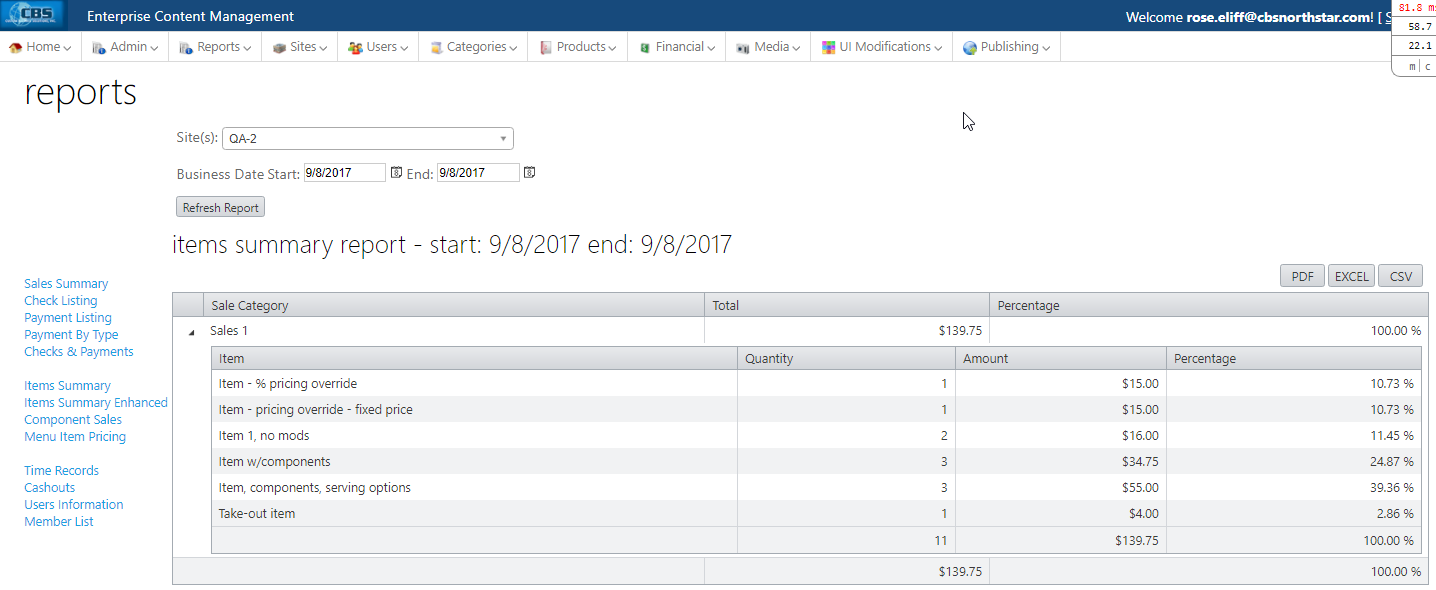
Go into ECM > Reports > Items Summary Report
Result: The ordered items are reflected in the Items Summary Report in real time
- Example:
- If Send sales data when there are check changes is not flagged, the transactional data will be available in the reports after the end-of-day
Offer Code Parsing
Paytronix workflow
- Concept setting to trigger a specific workflow for parsing QR codes (coupon redemption). (This workflow is not for general use.)
- When setting is selected, the system will apply the designated Paytronix workflow when a QR code is scanned for redemption
- Four types of QR codes are supported:
- Account number-based discount: 6-character offer code followed by an 8- or 12-digit account number.
- 14-digit alpha-numeric code without any offer code
- Generic discount with only a 6-character offer code
- 12-digit Paytronix account number
Parsing engine
Account Feature Toggle Required
The internal parsing engine setting will only appear when the account feature toggle is enabled: 4.8 Enhanced adjustment, combo, coupon parsing
Default: Off
Contact your NorthStar representative to have this setting enabled for your account.
- When feature toggle is enabled:
- Internal parsing engine code setting and textbox are shown on the Concept page
- When setting is selected, users can build complex adjustments such as BOGO, minSpend, exclusive, and lesser. Enable coupon parsing.v
- Select setting and enter parsing engine code in textbox (max. 50 characters)

