Set up Pricing Overrides (Happy Hour)
Purpose:
This how-to guide describes how to setup a pricing override for a menu item. This is used to create an additional pricing scheme for a menu that can be used for happy hours, special deals, etc.
Steps:
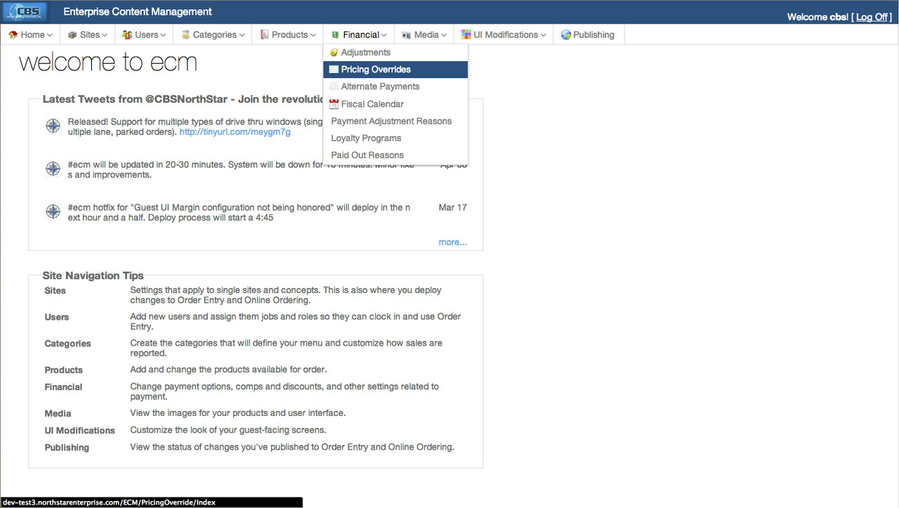
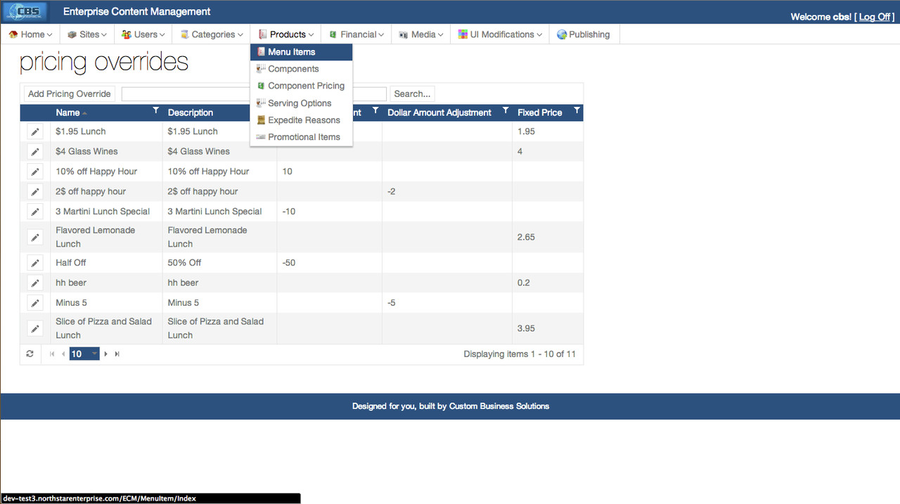
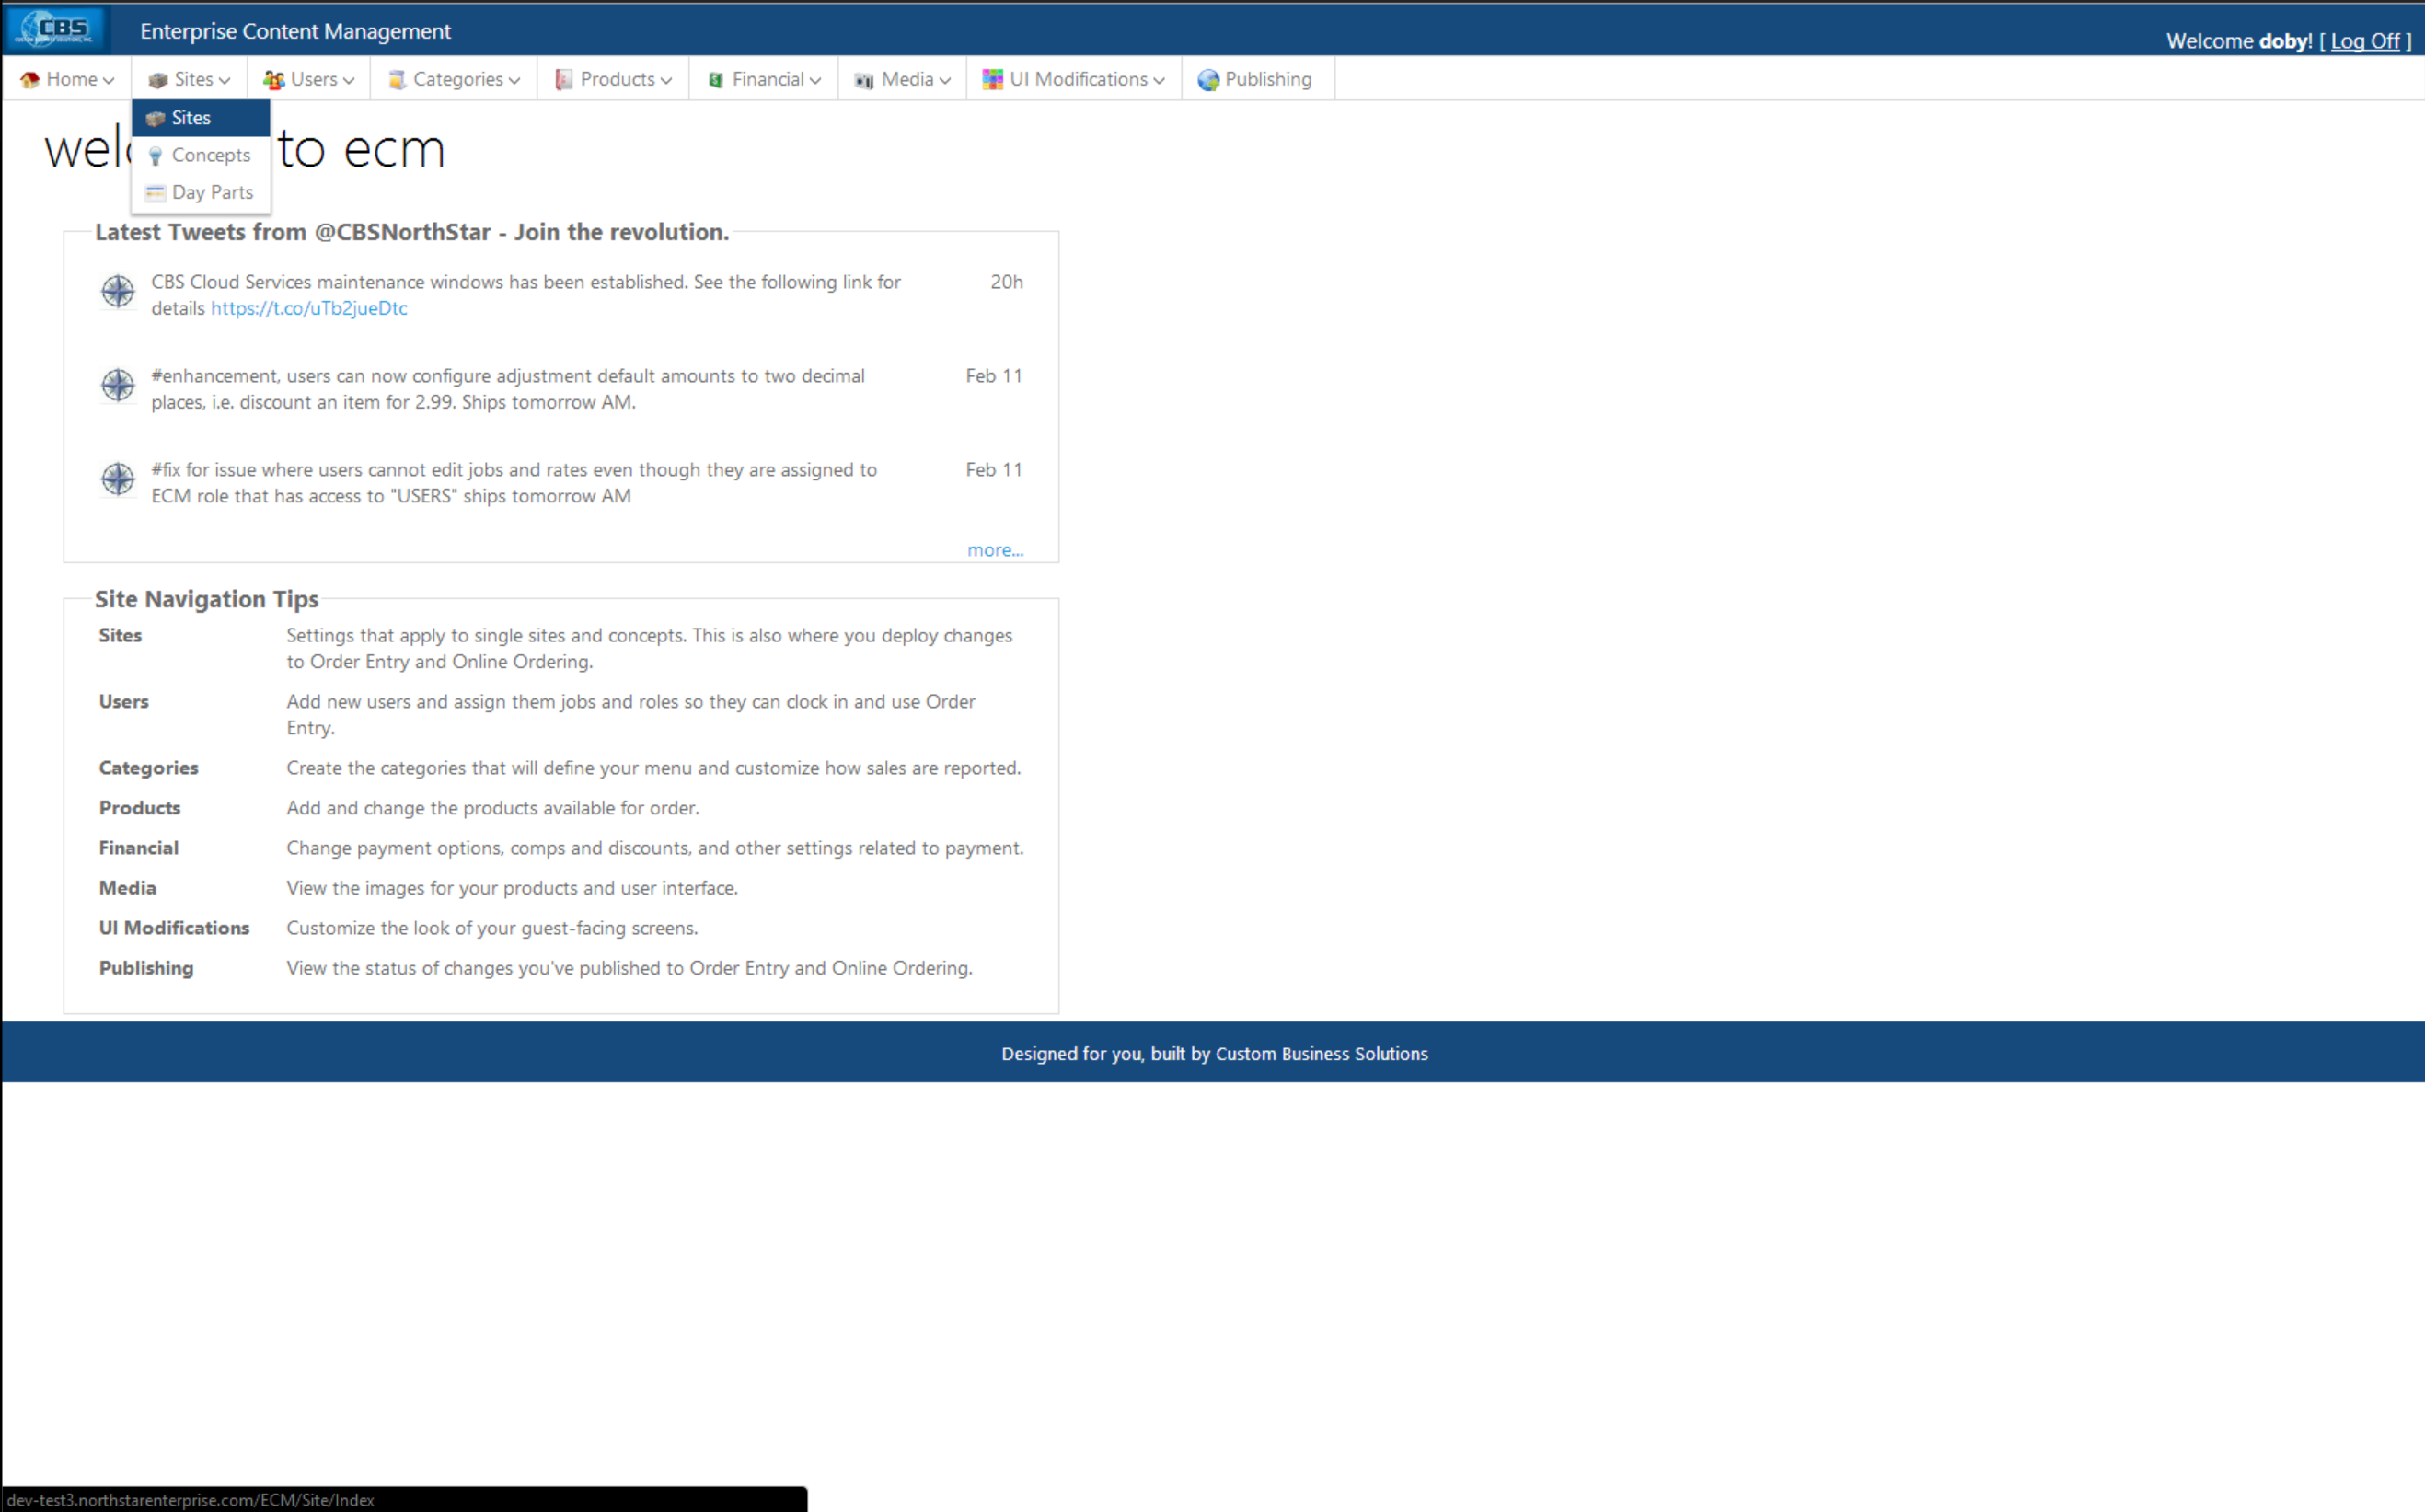
- Navigate to pricing overrides under the Financial tab.
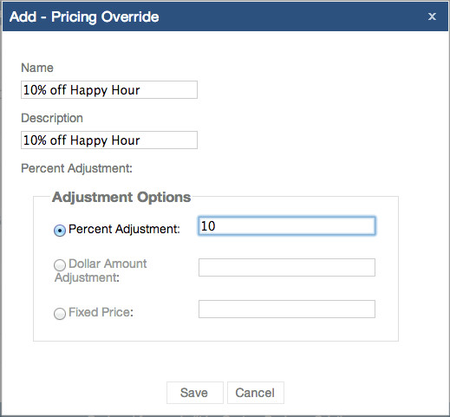
- Select the Add a Pricing Override button. Enter a name, description and select the type of pricing override to create. A user may select between a percent adjustment, a dollar amount adjustment or a fixed price override.
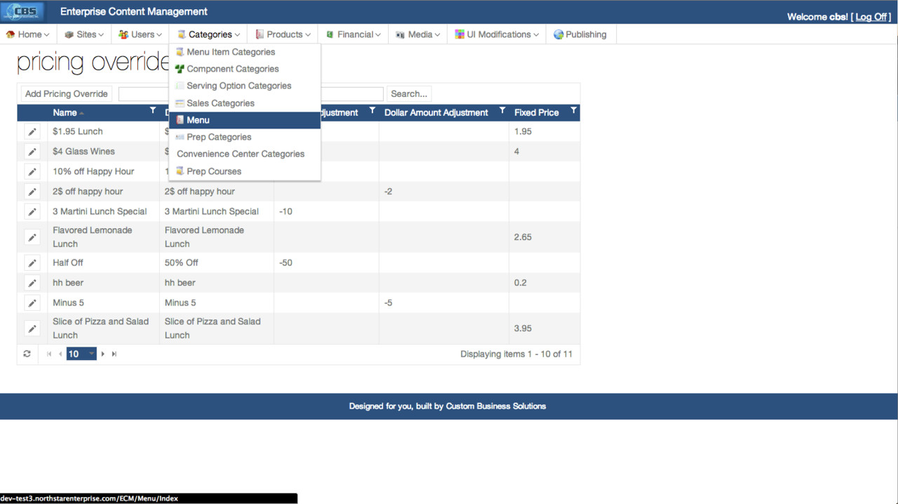
- After creating a pricing override we will then need to create a new menu to apply the pricing override to. Navigate to the menu page under the Categories tab.
- Select the Add Menu button and enter a name and description for the new menu.
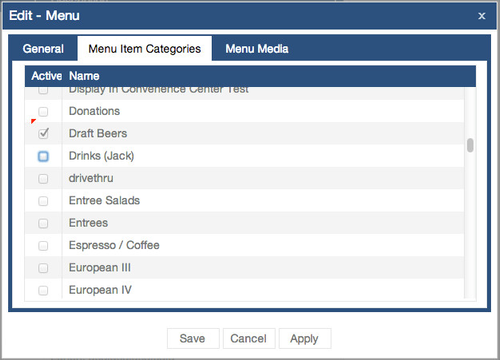
- Next we will need to select the menu item categories that will be featured on our new menu. Select the pencil icon next to the newly created menu to edit the menu. Navigate to the menu item categories tab and select one or more menu item categories.
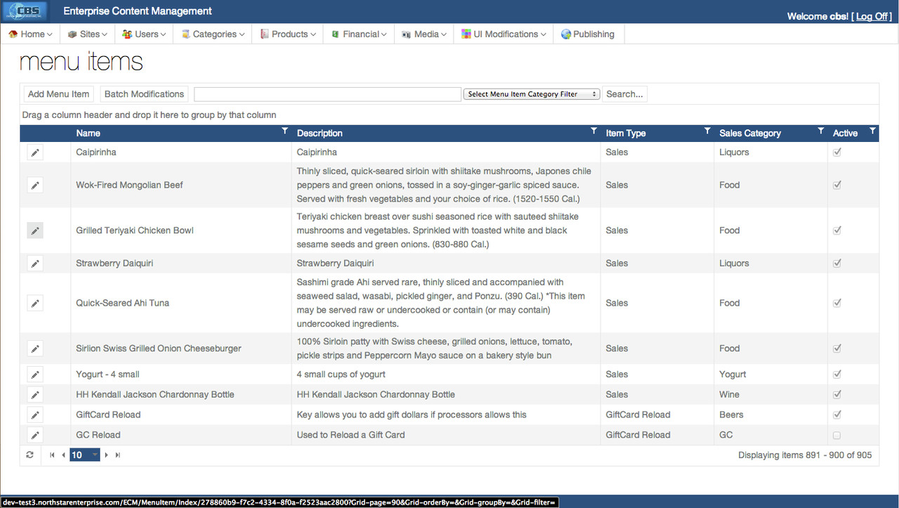
- Navigate to the menu items page under the Products tab.
- Select a menu item to add to our new menu and apply the pricing override. Press the pencil icon to edit the menu item.
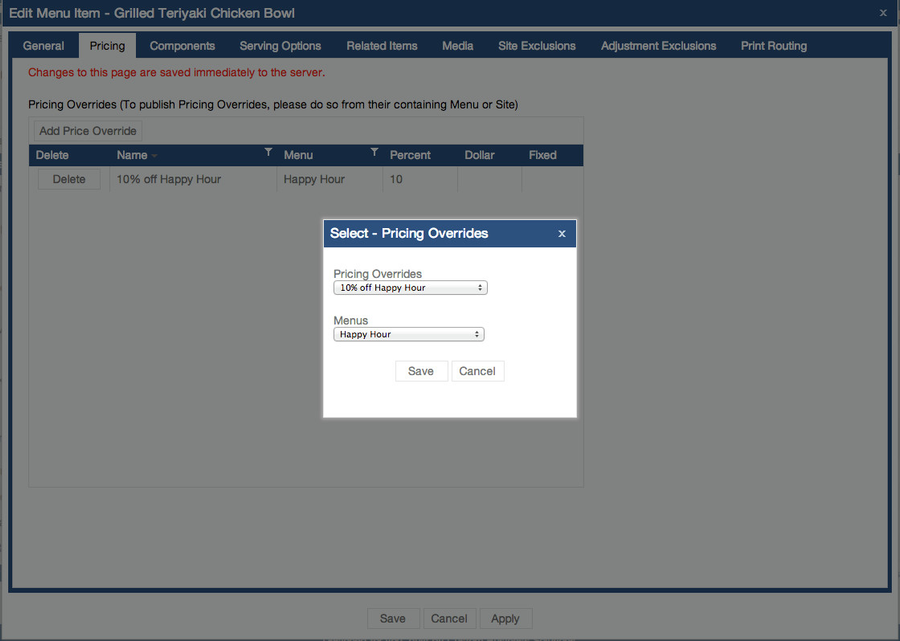
- Navigate to the pricing tab and select the Add Pricing Override button.
- Select the pricing override we created in Step 2 and the menu we created in Step 4. The item "Grilled Teriyaki Chicken Bowl" is now available on the new menu "Happy Hour" and has a 10% price reduction applied to it. Repeat these steps for all of the following menu items that you wish to apply the newly created pricing override to.
- Attach a new area day part menu to an area containing the new menu "Happy Hour" paired with the day part of your choice. For additional assistance in creating and attaching a day part please read "How to Create a Day Part Menu"
- Deploy the changes to the site.
Steps to setup pricing overrides:
1. Navigate to pricing overrides under the Financial tab.
2. Select the Add a Pricing Override button. Enter a name, description and select the type of pricing override to create. A user may select between a percent adjustment, a dollar amount adjustment or a fixed price override.
3. After creating a pricing override we will then need to create a new menu to apply the pricing override to. Navigate to the menu page under the Categories tab.
4. Select the Add Menu button and enter a name and description for the new menu.

5. Next we will need to select the menu item categories that will be featured on our new menu. Select the pencil icon next to the newly created menu to edit the menu. Navigate to the menu item categories tab and select one or more menu item categories.
6. Navigate to the menu items page under the Products tab.
7. Select a menu item to add to our new menu and apply the pricing override. Press the pencil icon to edit the menu item.
8. Navigate to the pricing tab and select the Add Pricing Override button.
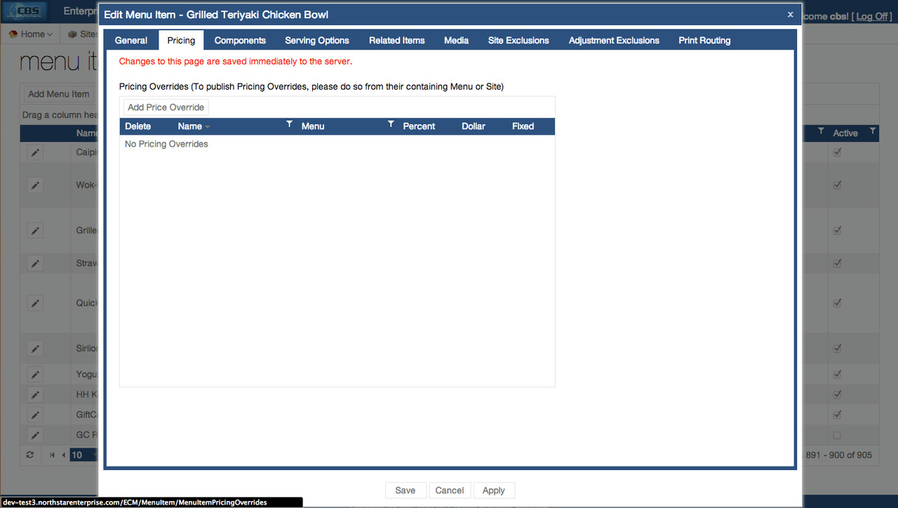
9. Select the pricing override we created in Step 2 and the menu we created in Step 4.
The item "Grilled Teriyaki Chicken Bowl" is now available on the new menu "Happy Hour" and has a 10% price reduction applied to it.
Repeat these steps for all of the following menu items that you wish to apply the newly created pricing override to.
10. Attach a new area day part menu to an area containing the new menu "Happy Hour" paired with the day part of your choice. For additional assistance in creating and attaching a day part please read "How to create a Day Part Menu"
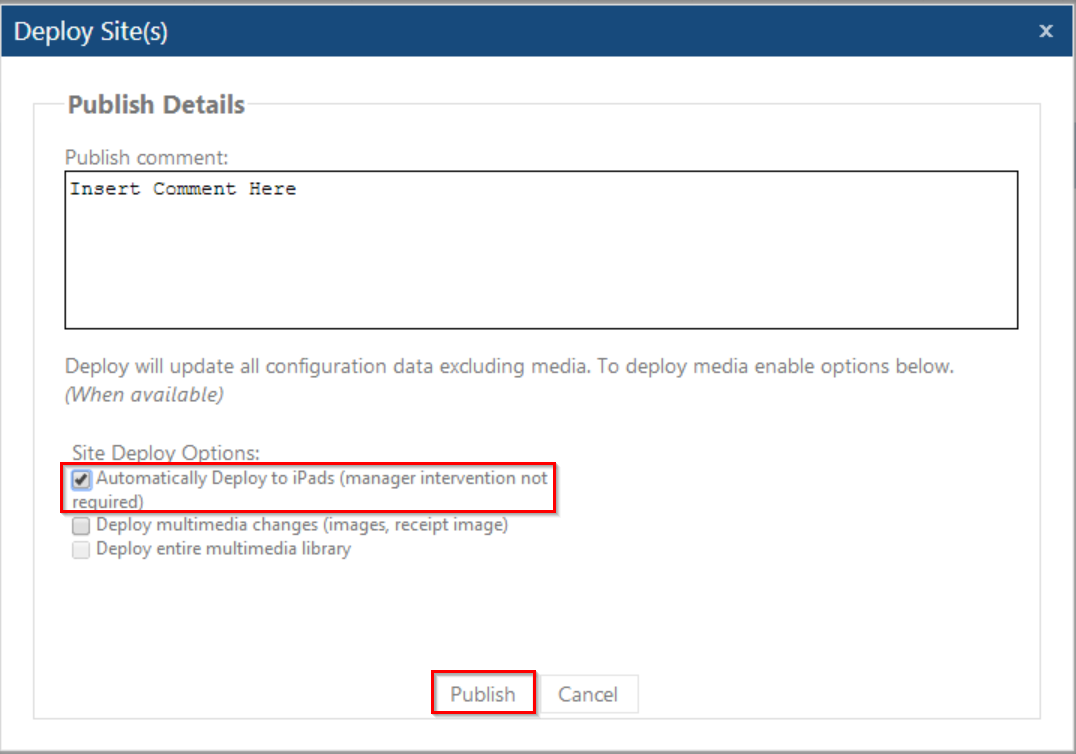
11. Deploy Changes
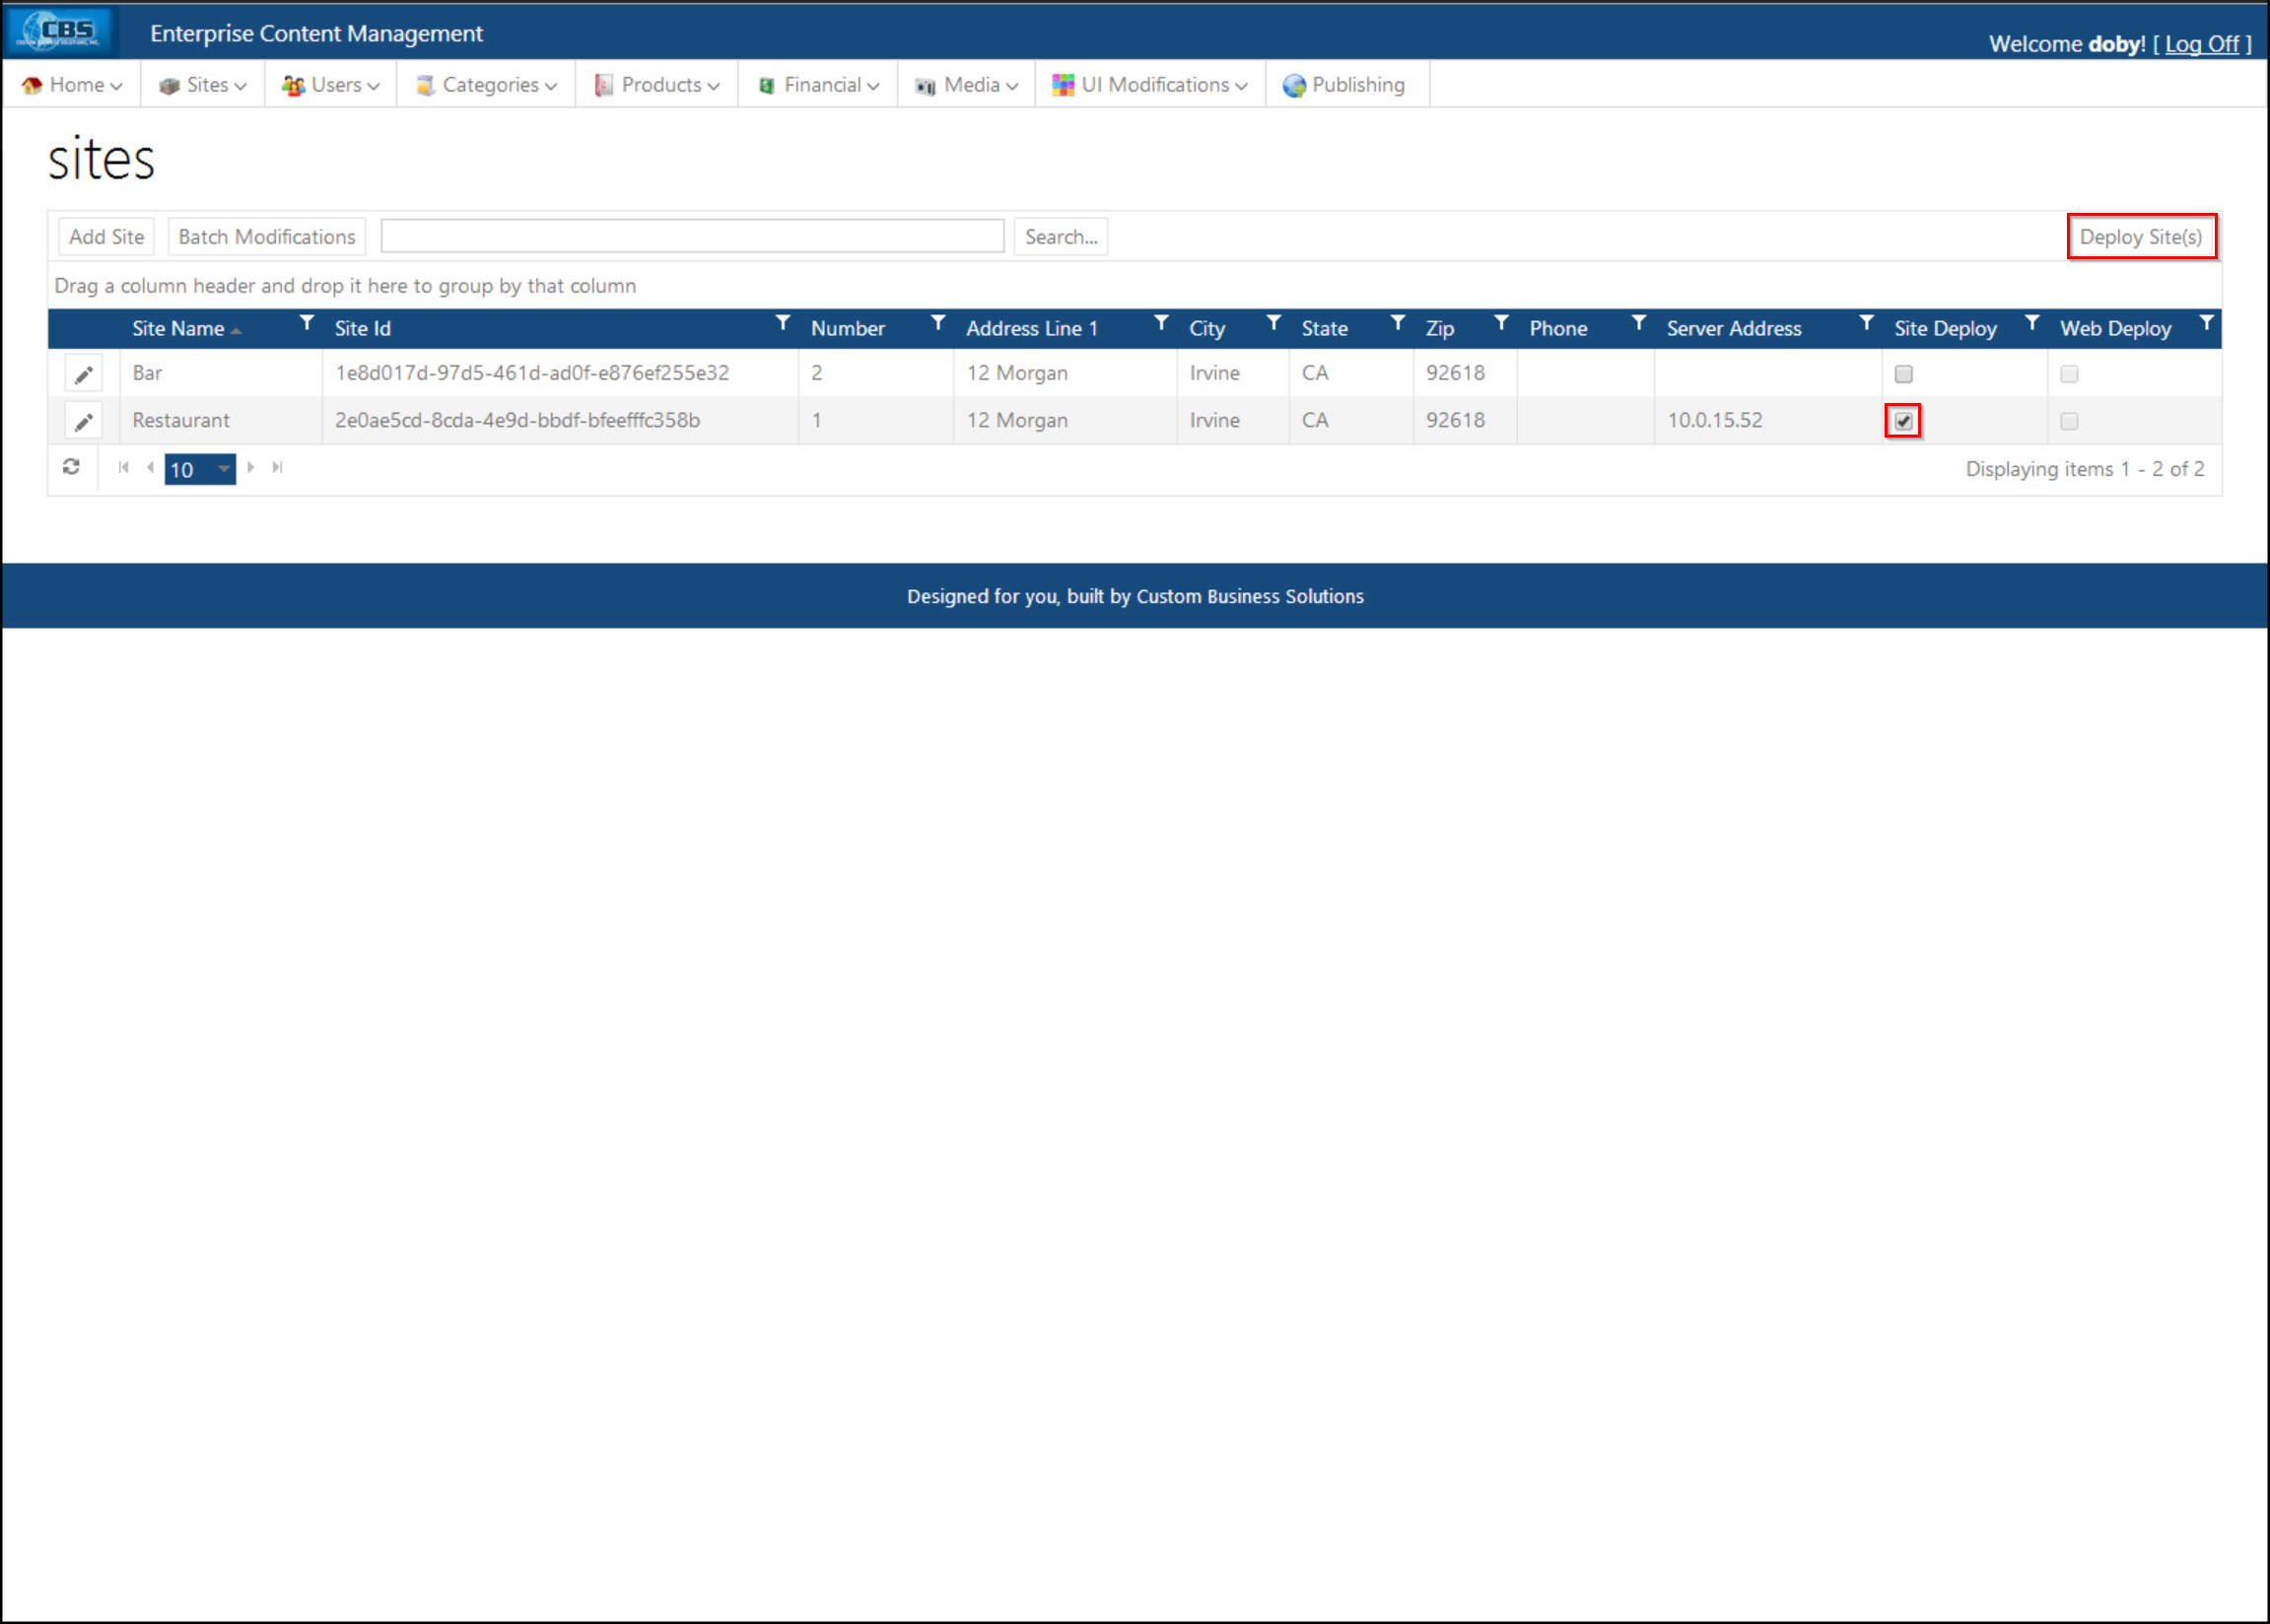
a. Navigate to the sites page.
b. Select the site and flag the site deploy check box. Press the Deploy Site(s) button.
c. Enter a comment, flag the automatically deploy to iPads check box and press Publish.