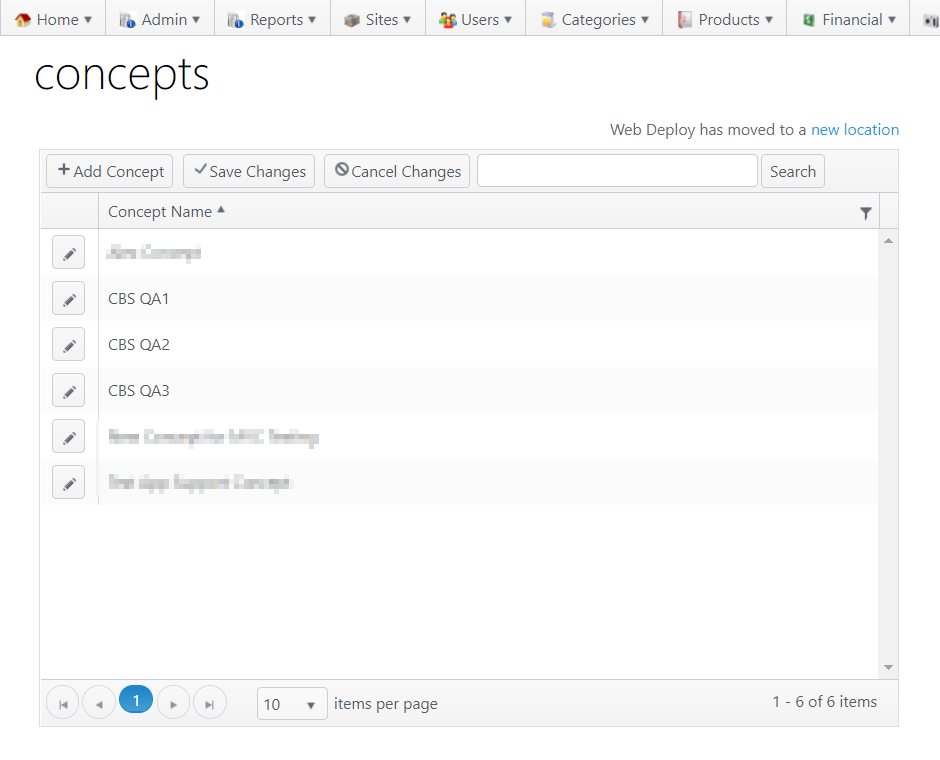
The Concepts page shows the various restaurant or business concepts for a company and allows the user to add or make changes to a concept. A single restaurant concept can be composed of one or more individual sites. Any changes are concept-wide and apply to all sites within the concept.
- To access the Concepts page, go to Sites > Concepts
- Add Concept - Click to open the Add Concept window
- Save Changes - Click to save changes
- Cancel Changes - Click to discard changes
- Search - Search for a concept (alpha/numeric entry)
- Concept Name -
- Column can be sorted ascending or descending
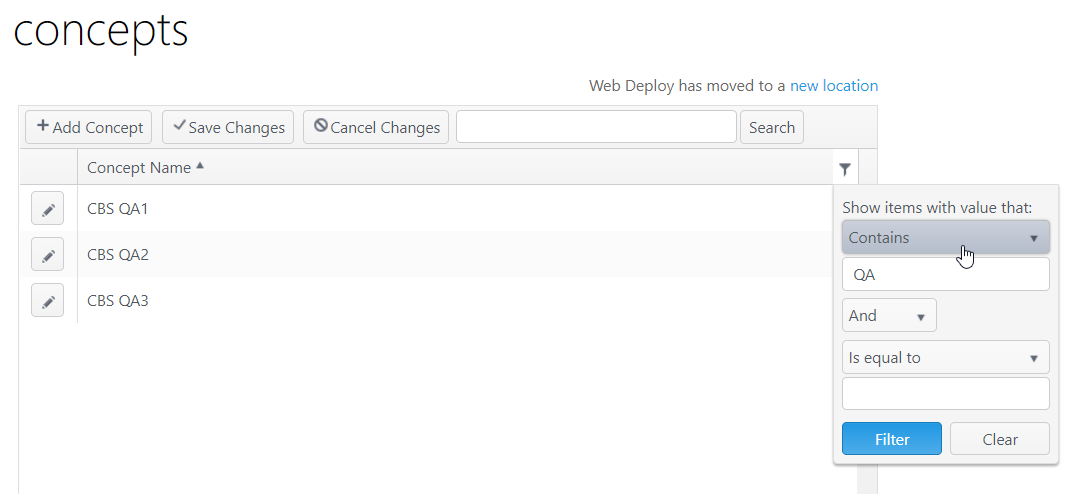
- Column can also be filtered to show a subset of records
- Edit concept - Click edit icon (pencil) to open the Edit Concept window
Configuration
Add concept
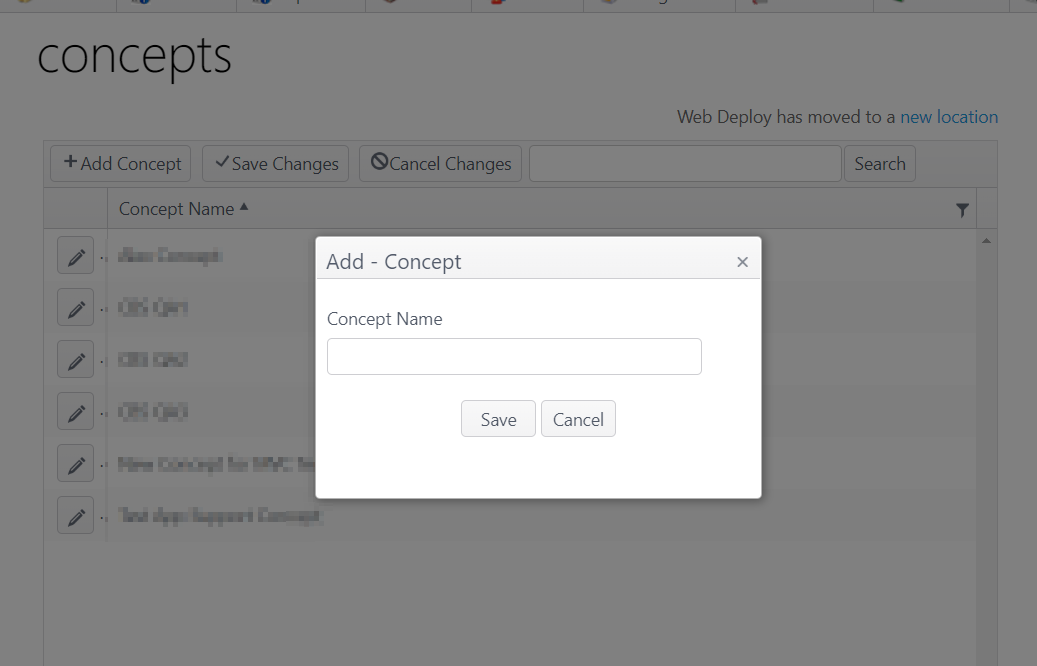
- Click Add Concept
- Enter the Concept Name in the modal window
- Click Save to save the entry or Cancel to cancel the entry; both actions will close the window and return to the main screen
- Click Save Changes on the main screen to save or Cancel Changes to cancel any actions
Edit concept
- Click the edit icon (pencil) to open the Edit Concept window
- Concept tab -
- Logo Settings
- Name - This field is editable
- To add a logo:
- Image file must meet the stated image requirements
- Click Select file to find and upload a file
- When the file has been uploaded, the status bar will show Done with a checkmark
- Click Save to save changes or Cancel to cancel changes
- To delete a logo:
- Select Delete logo
- Save
- Logo Settings
- Settings tab
- Check Settings
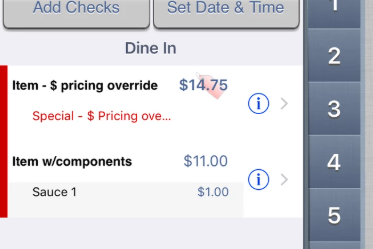
- Display on-screen checks in expanded format - Items with components, serving options, special pricing, etc., are expanded on the POS application to show detail on the check panel
- Print non-priced components and serving options WORK IN PROGRESS
- Print priced components and serving options
- Print prices
- Display on-screen checks in expanded format - Items with components, serving options, special pricing, etc., are expanded on the POS application to show detail on the check panel


