Summary
...
In the guest UI, the text on most elements, such as labels, button names, messages, etc., can be customized as desired.
- In English, the text can be changed to match the brand's tone of voice
- The text can be also be changed to a different language. See Languages.
Configuration
Add the values for each of the translatable elements in the Guest UI.
Go to ECM > UI Modifications > Guest UI > Localization

Revise text
- Language: Select a language from the drop-down. See Languages.
- The page shows:
- View IDs
- Screen IDs
- Default Values
- Localization values
- To add/change a translation value, click a line to select an item
- An image of the screen will display with each translatable element labeled with a view ID for reference.
- Click in the Localization field; enter the value to be used for the element
Example: English

Example: French

- After entering the values for each element, click Save changes to save or Cancel changes to discard any changes.
Localize data elements
Other data elements can also be localized:
Item | Path |
|---|---|
| Adjustment reasons | Financial > Adjustment Reasons > Select reason > Localization |
| Alternate payments | Financial > Alternate Payments > Select payment > Localization |
| Component categories | Categories > Component Categories > Select Component Category > Localization |
| Components | Products > Components > Select Component > Localization |
| Convenience center categories | Categories > Convenience Center Categories > Select category > Localization |
| Gratuities | Financial > Gratuities > Select gratuity > Localization |
| Menu item categories | Categories > Menu item categories > Select category > Localization |
| Menu items | Products > Menu items > Select Menu Item > Localization |
| Prep courses | Categories > Prep courses > Select prep course > Localization |
| Receipts | Sites > Receipts > Localization |
| Serving options | Products > Serving Options > Select Serving Option > Localization |
| Serving options categories | Categories > Serving Option Categories > Select Serving Option Categories > Localization |
| Tax Types | Financial > Tax Types > Select tax type > Localization |
| UI Modifications | UI Modifications > Guest UI > Localization |
Example: To localize the language for a menu item category:
- Go to Categories > Menu Item Categories
- Go to Categories > Menu Item Categories
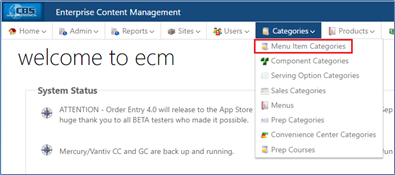
- Select a menu item category
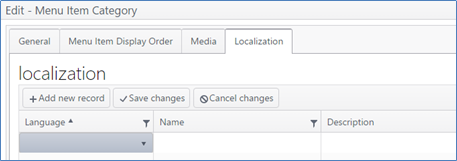
- Click Edit

- Click Localization > Add new record
- Select the language desired from the Language dropdown
- Click in field and enter name and description
- Click Save changes
- Repeat steps for each area of the site to be translated
- Edit:
- Language selection can be edited by selecting a different language from the drop down
- Name or description can be edited by clicking in the name or description fields
Operation
When the guest accesses Order Entry in guest-facing mode, a language toggle is located in the lower right corner.

Click the toggle to display the languages available and to select a language.

The application will be displayed in the selected language.

The selected language will be applied throughout the application and on the printed receipts.
Example: When data has been configured in ECM for the menu items and other ordering elements, they will appear in the selected language.


To change to a different language, click the toggle again and select the desired language.