...
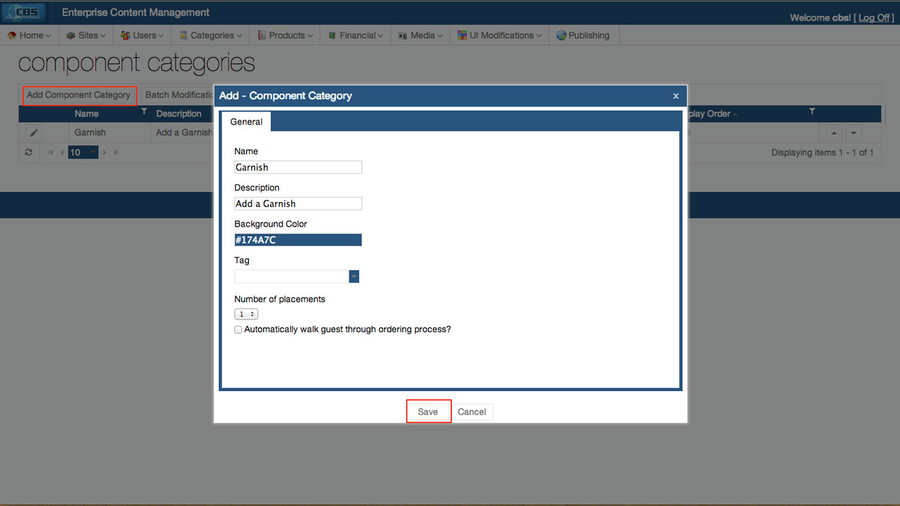
For additional information on the available options when adding a component category please read "Add a Component Category"

3. Next we will create a component and add it to the component category. Navigate to the Components Page under the products tab.
...
4. Select the Add Component Button and enter a name, description and select the component category created from Step 2. Press save to create the component.


5. Now that we have created a component and added it to a component category we will need to add the component to a menu item. Navigate to the Menu Items page under the products tab.
...
6. For this example let's add the Lime Wedge Component we created in Step 4 to the menu item "Coke". Select the pencil icon to edit the menu item.


7. Navigate to the Edit Menu Item - Components tab and select the Available Component Categories Drop Down tab. Select the Component Category "Garnish" that we created in Step 2.


8. Select batch modifications to add or remove components of the selected component category from the menu item.


9. Check the components to add and select the save changes button. Once all components are added select save (bottom of the screen) to save the changes to the menu item.
For additional information on available options when adding or editing a component please read "Edit a Menu Item - Components".


10. Deploy Changes
...
Once all of the changes have been published select the menu item to navigate to the customization screen.


Notice the Lime Wedge component is now available to add to our menu item.

