Purpose:
This article guides a user through creating a new day part, attaching it to a menu and making it available to a specific area.
Steps:
...
Summary
Area Day Part Menus allow the restaurant/client to use different menus at different times of the day, such as different lunch and dinner menus. There can be different pricing on each menu.
Each area is then set up that will have use of these menus. The restaurant may want a breakfast menu for table service, but not for the bar, for example.
Configuration
There are basically three steps to configuring a day part menu:
- Create the new day part
- Make the day part menu available to specified areas
- Attach the day part to a menu
Add a Day Part Menu
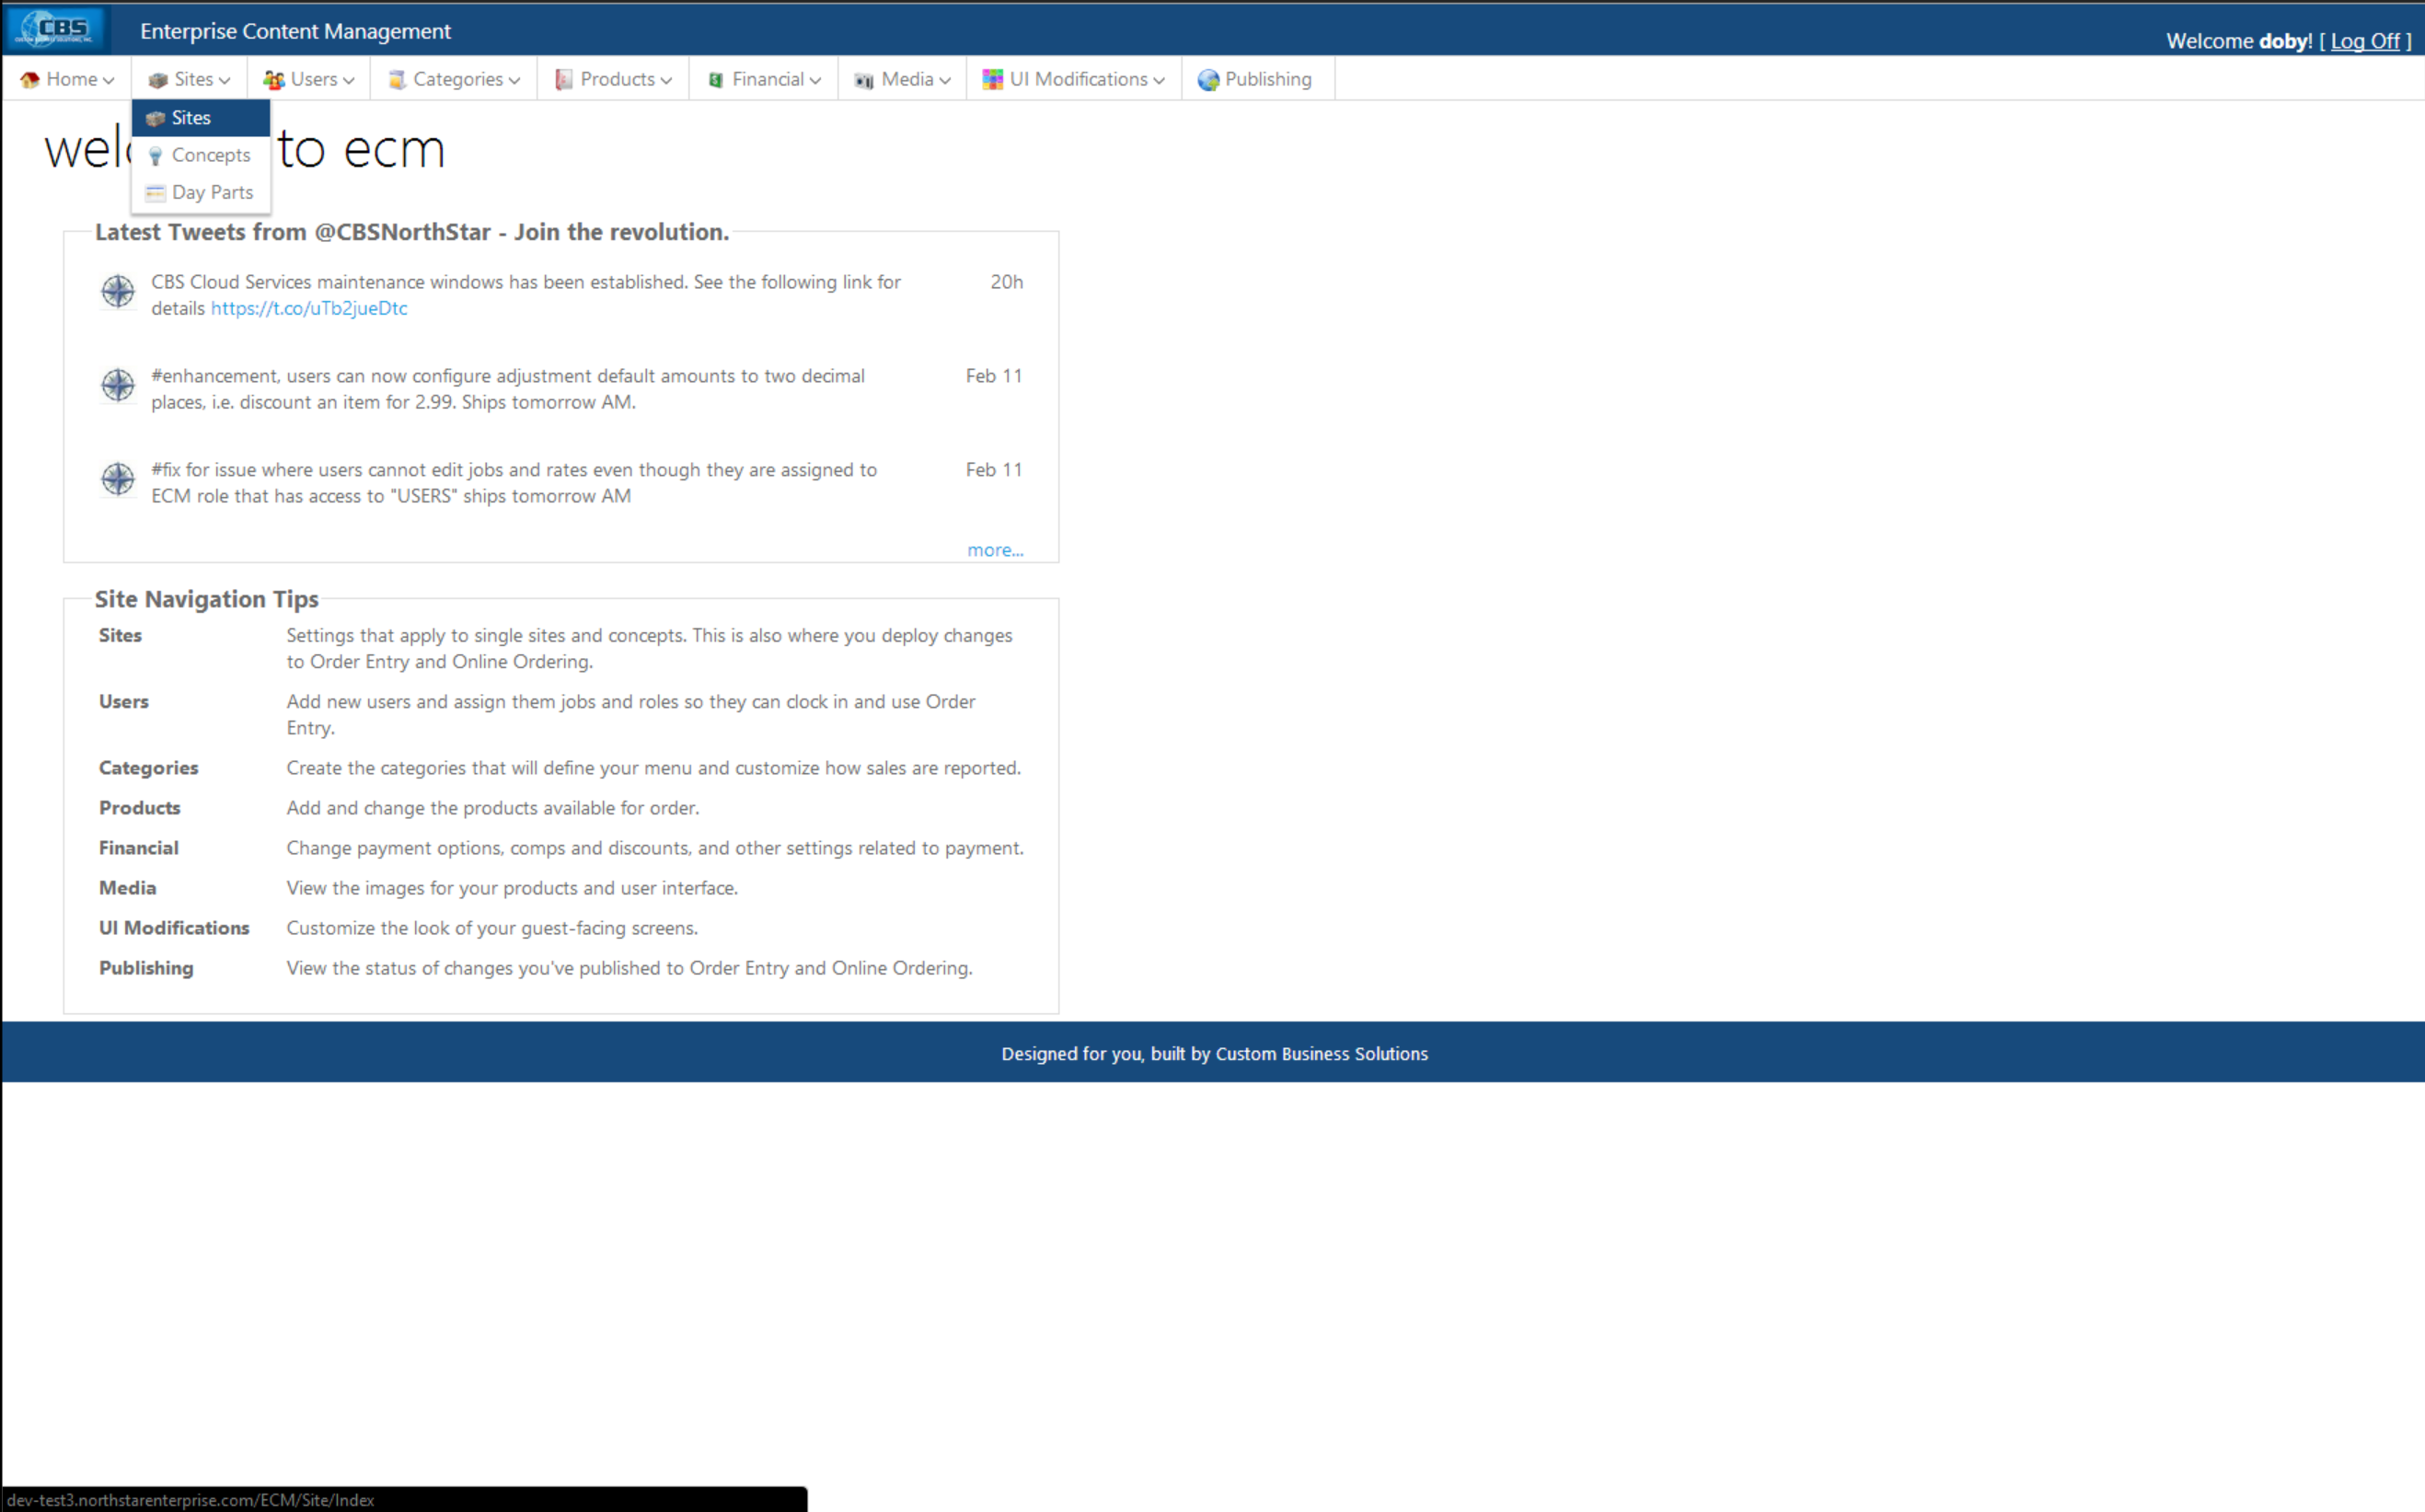
- Navigate Go to the Sites > Day Parts pageParts
- Select the Add DayPart button. Enter a name, description, start and end date, select any days of the week you want this Day Part to be available and press click Save.
...

Attach a Day Part Menu to an Area
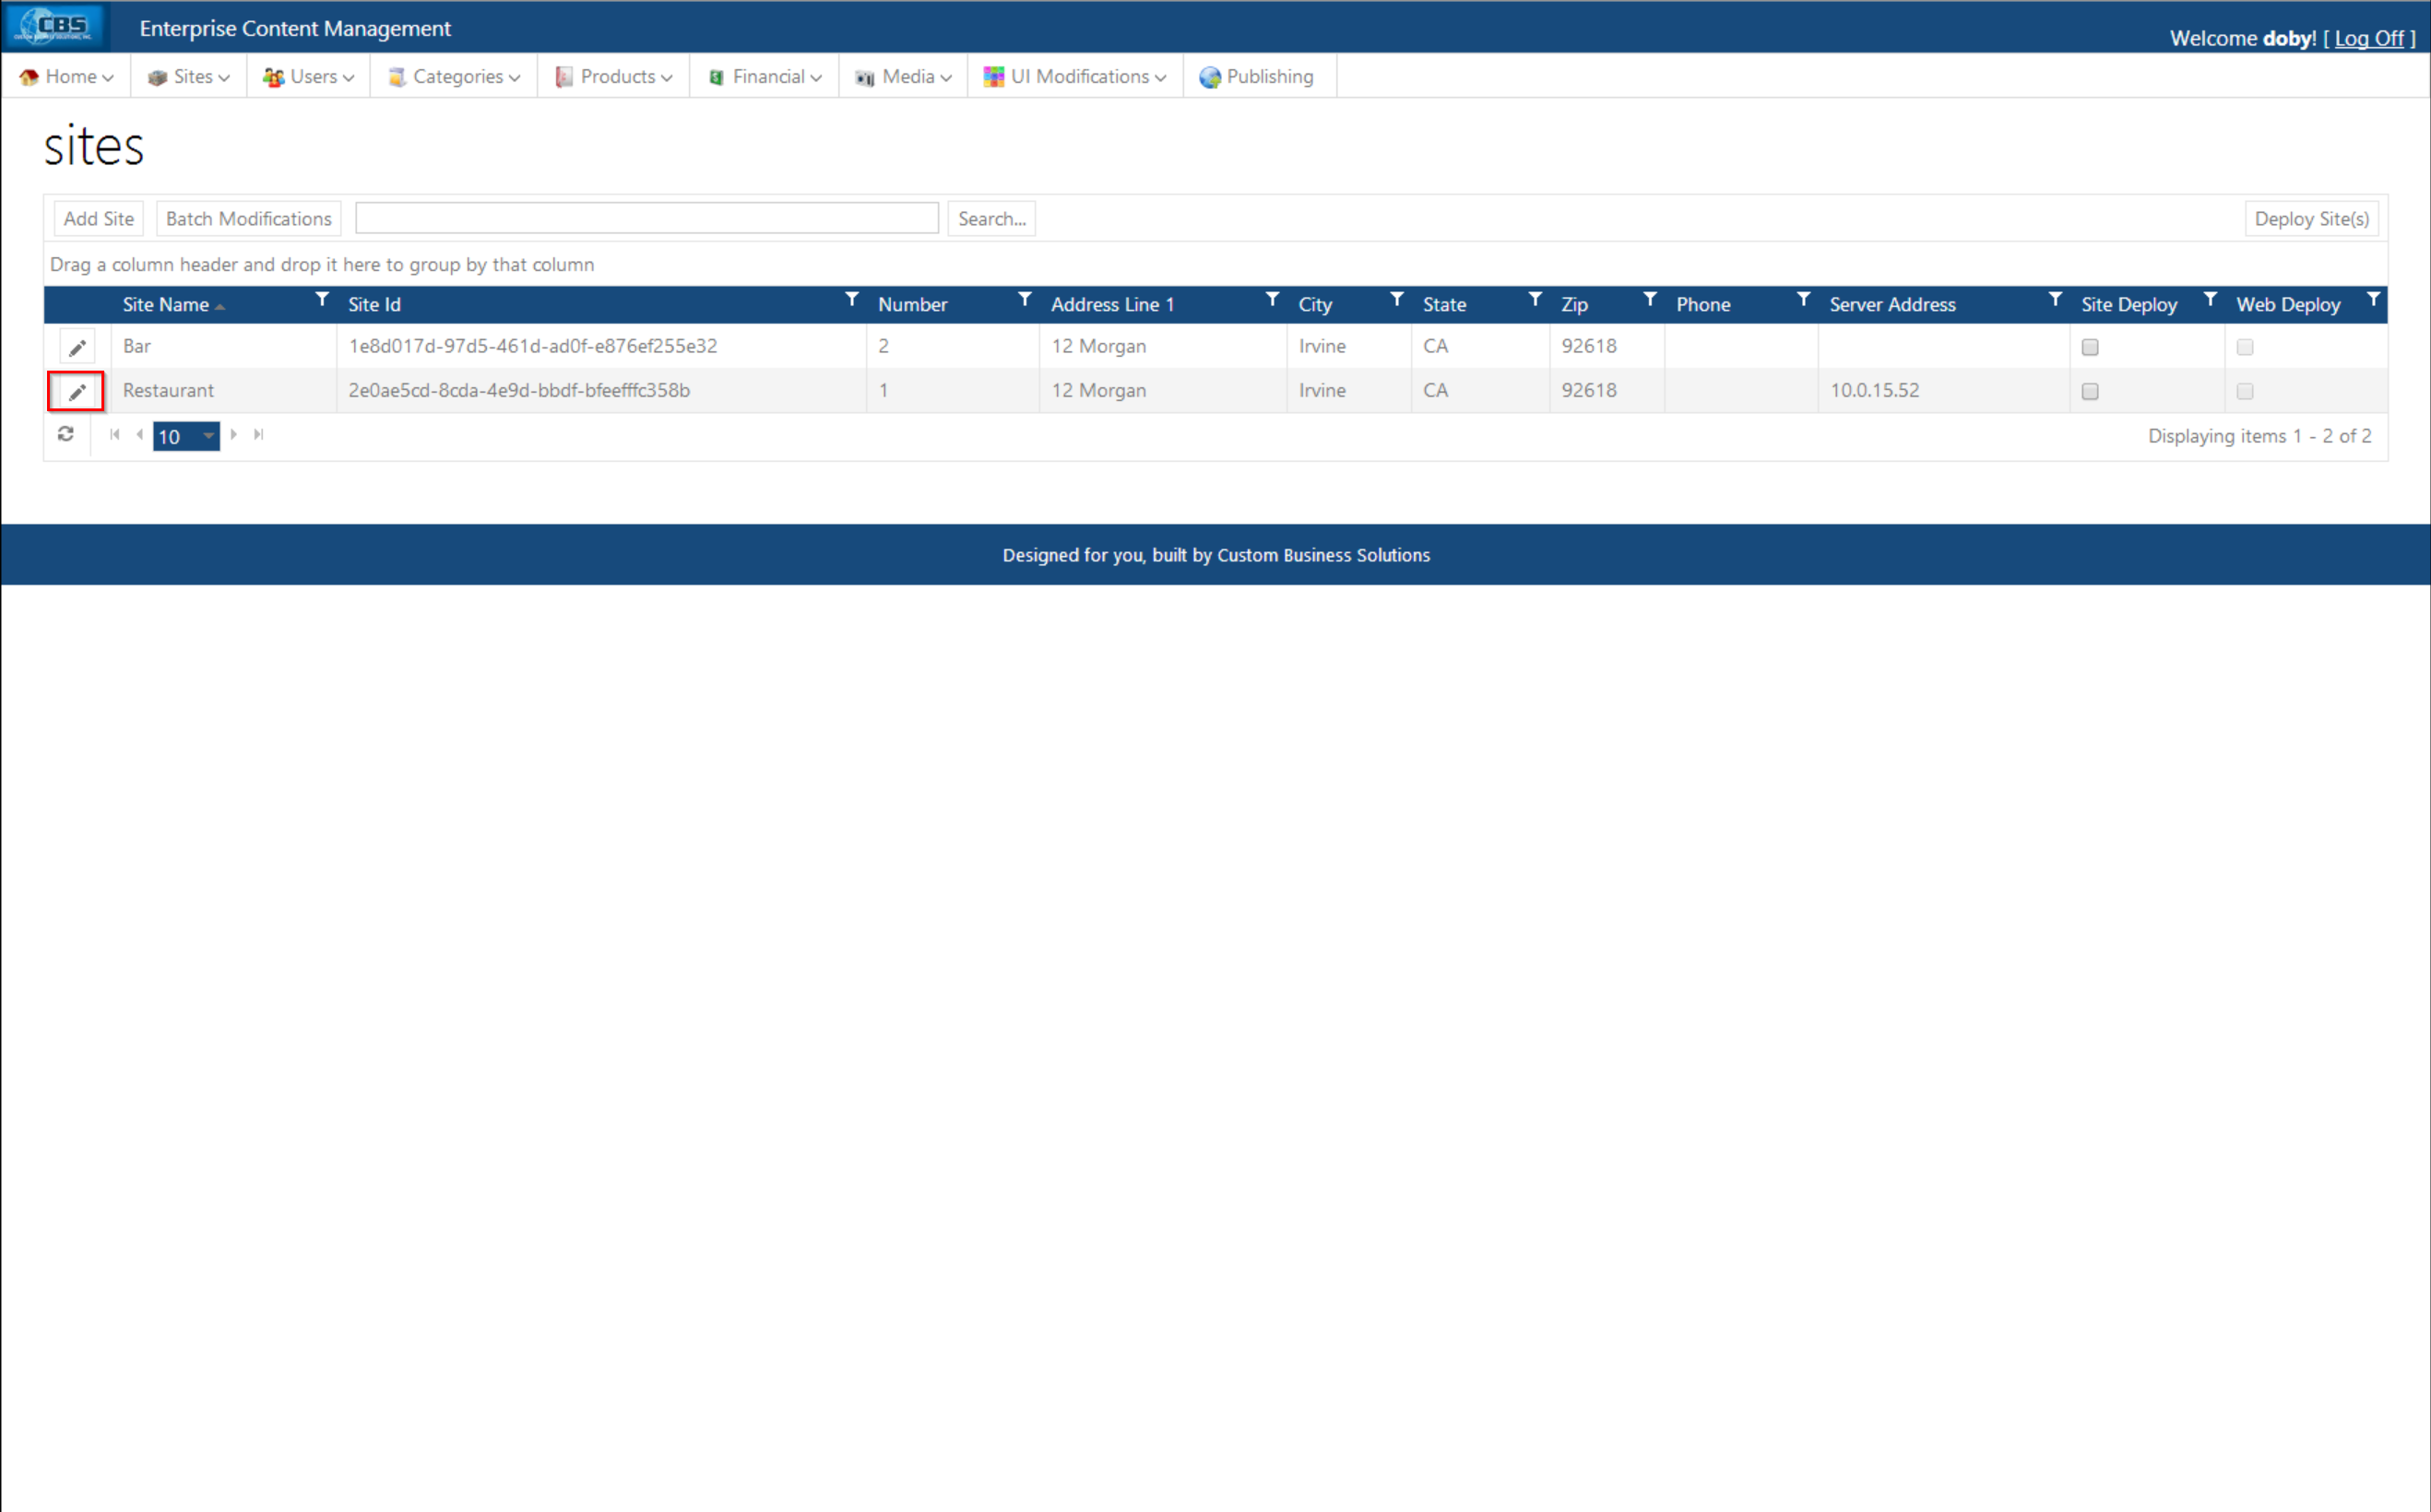
- Navigate to the sites page.
- Choose the site to add the day part menu to and select the Edit button.
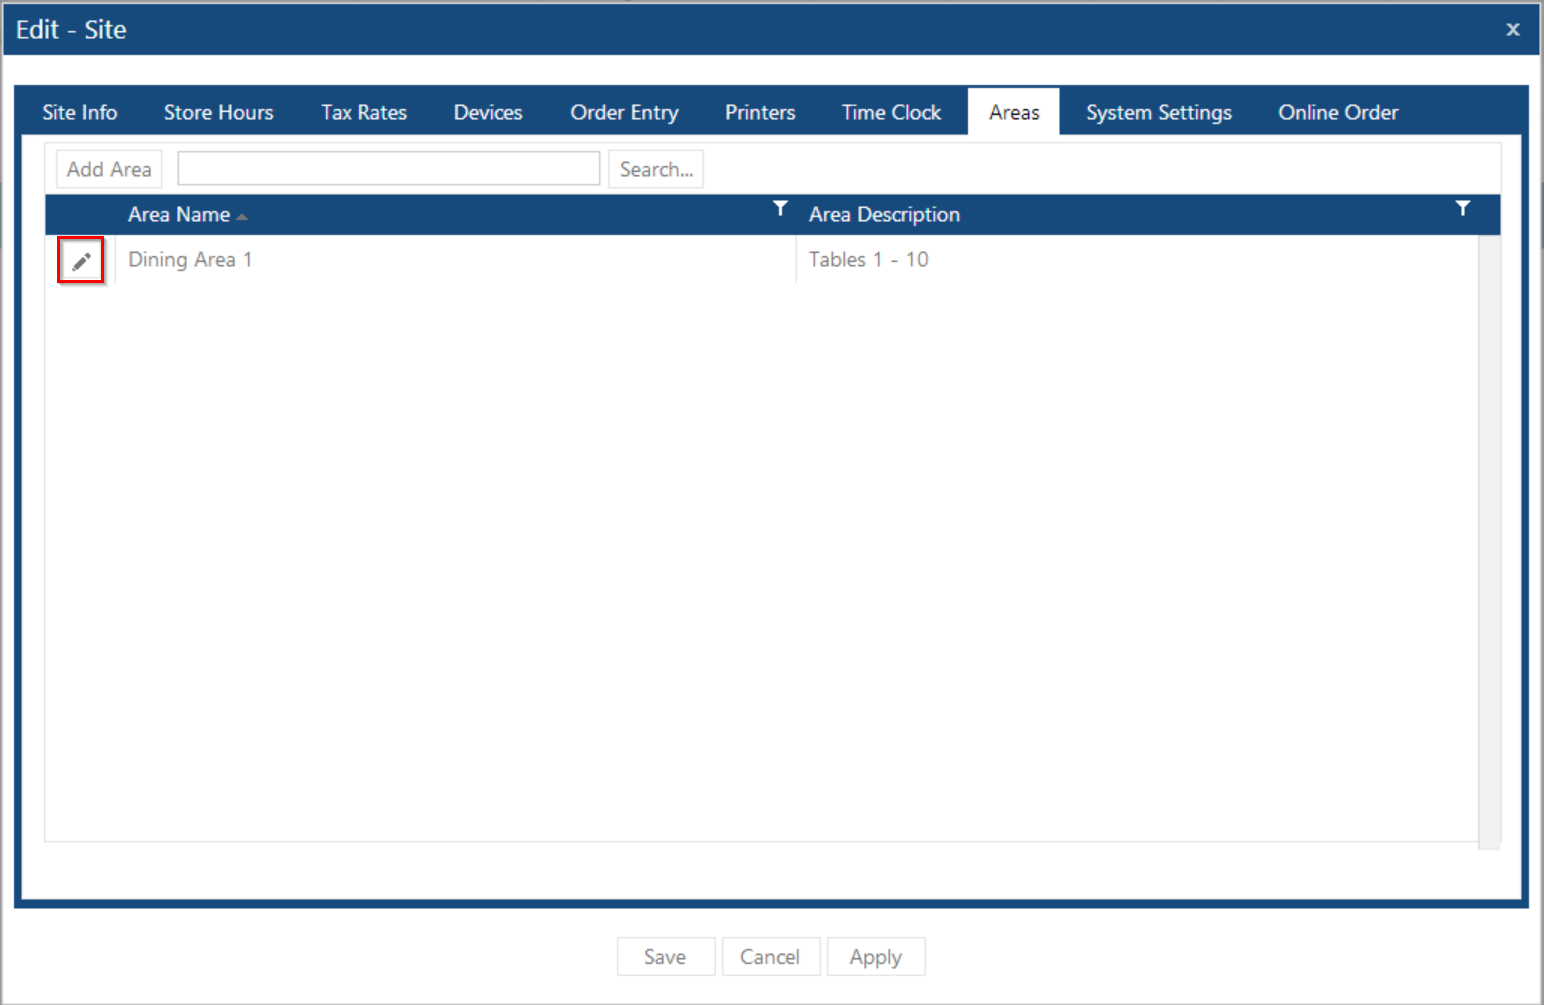
- Navigate to the Areas tab and select the Edit button for the Area you created in step 10.
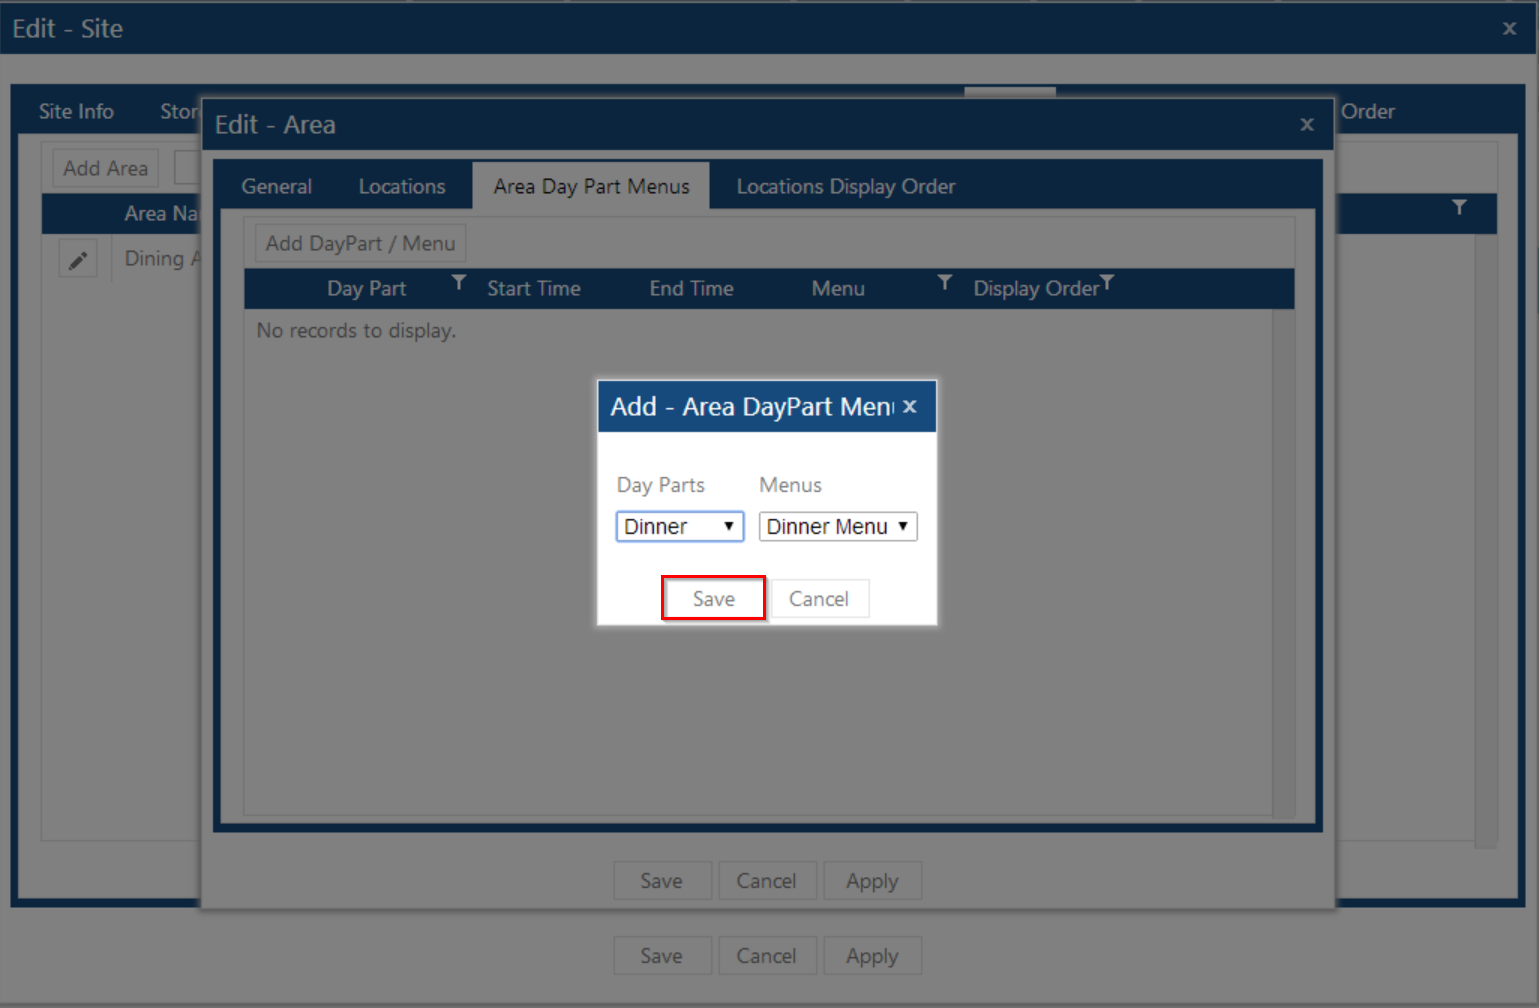
- Navigate to the Area Day Part Menus tab and select the Add DayPart / Menu button.
- Choose the Day Part created in step 1 and select the menu to be displayed when this day part is active and press Save.
1. How to Add a Day Part Menu
a. Navigate to the day parts page.

b. Select the Add DayPart button. Enter a name, description, start and end date, select any days of the week you want this Day Part to be available and press Save.

2. How to Attach a Day Part Menu to an Area
a. Navigate to the sites page.
b. Choose the site to add the day part menu to and select the Edit button.
c. Navigate to the Areas tab and select the Edit button for the Area you created in step 10.
d. Navigate to the Area Day Part Menus tab and select the Add DayPart / Menu button.
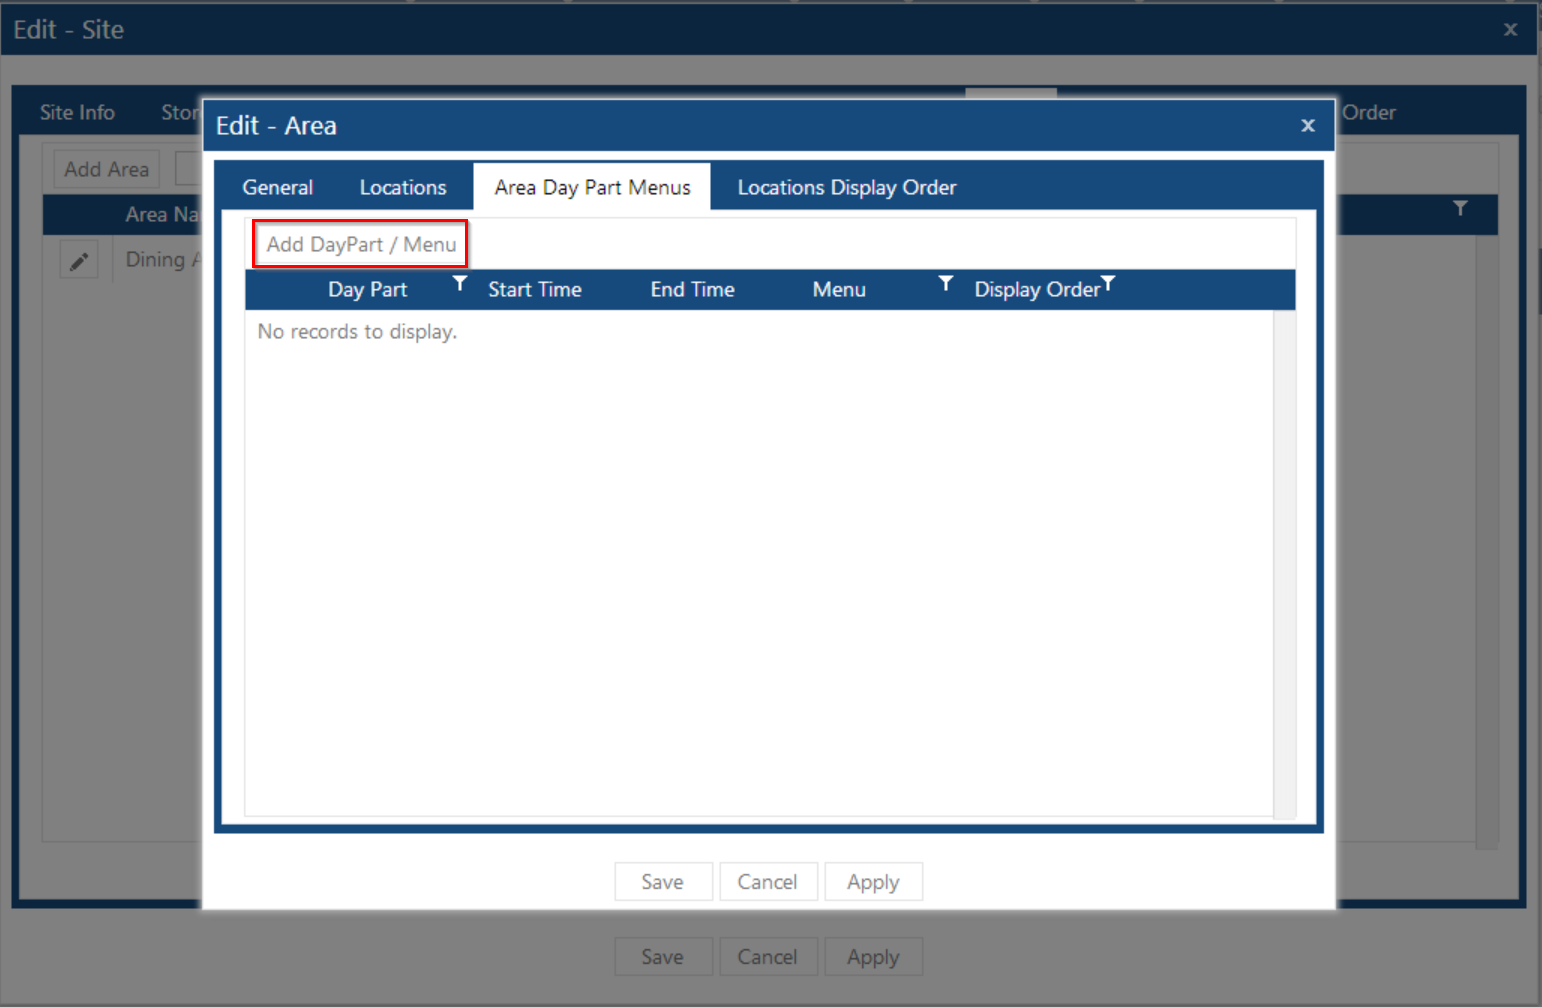
e. Choose the Day Part created in step 1 and select the menu to be displayed when this day part is active and press Save.
Related articles
...
- From Sites, select the site name and click the Edit (pencil) icon.
- Select the Areas tab; click the Edit (pencil) icon.
- Select the Area Day Part Menus tab and select Add DayPart/Menu.
- From the drop-downs, select a day part and the menu to be applied to that day part. Click Save.

Operation
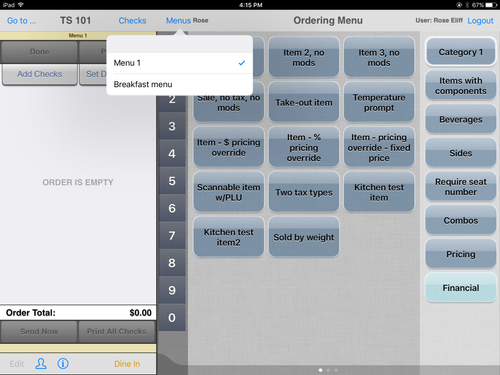
The day part menus will be triggered to be displayed according to the configuration. If a breakfast menu is set to be available to a table service area from 8 A.M. until 12 noon, the app will automatically default to the menu specified for that day part in that area.
The user can check which menus are available for the area by tapping Menus and viewing the drop-down list. The default menu for the specified time range will be checkmarked.
Related articles
Day Parts - old (ECM Navigation)
Add/Edit a Day Part (ECM Navigation)
...